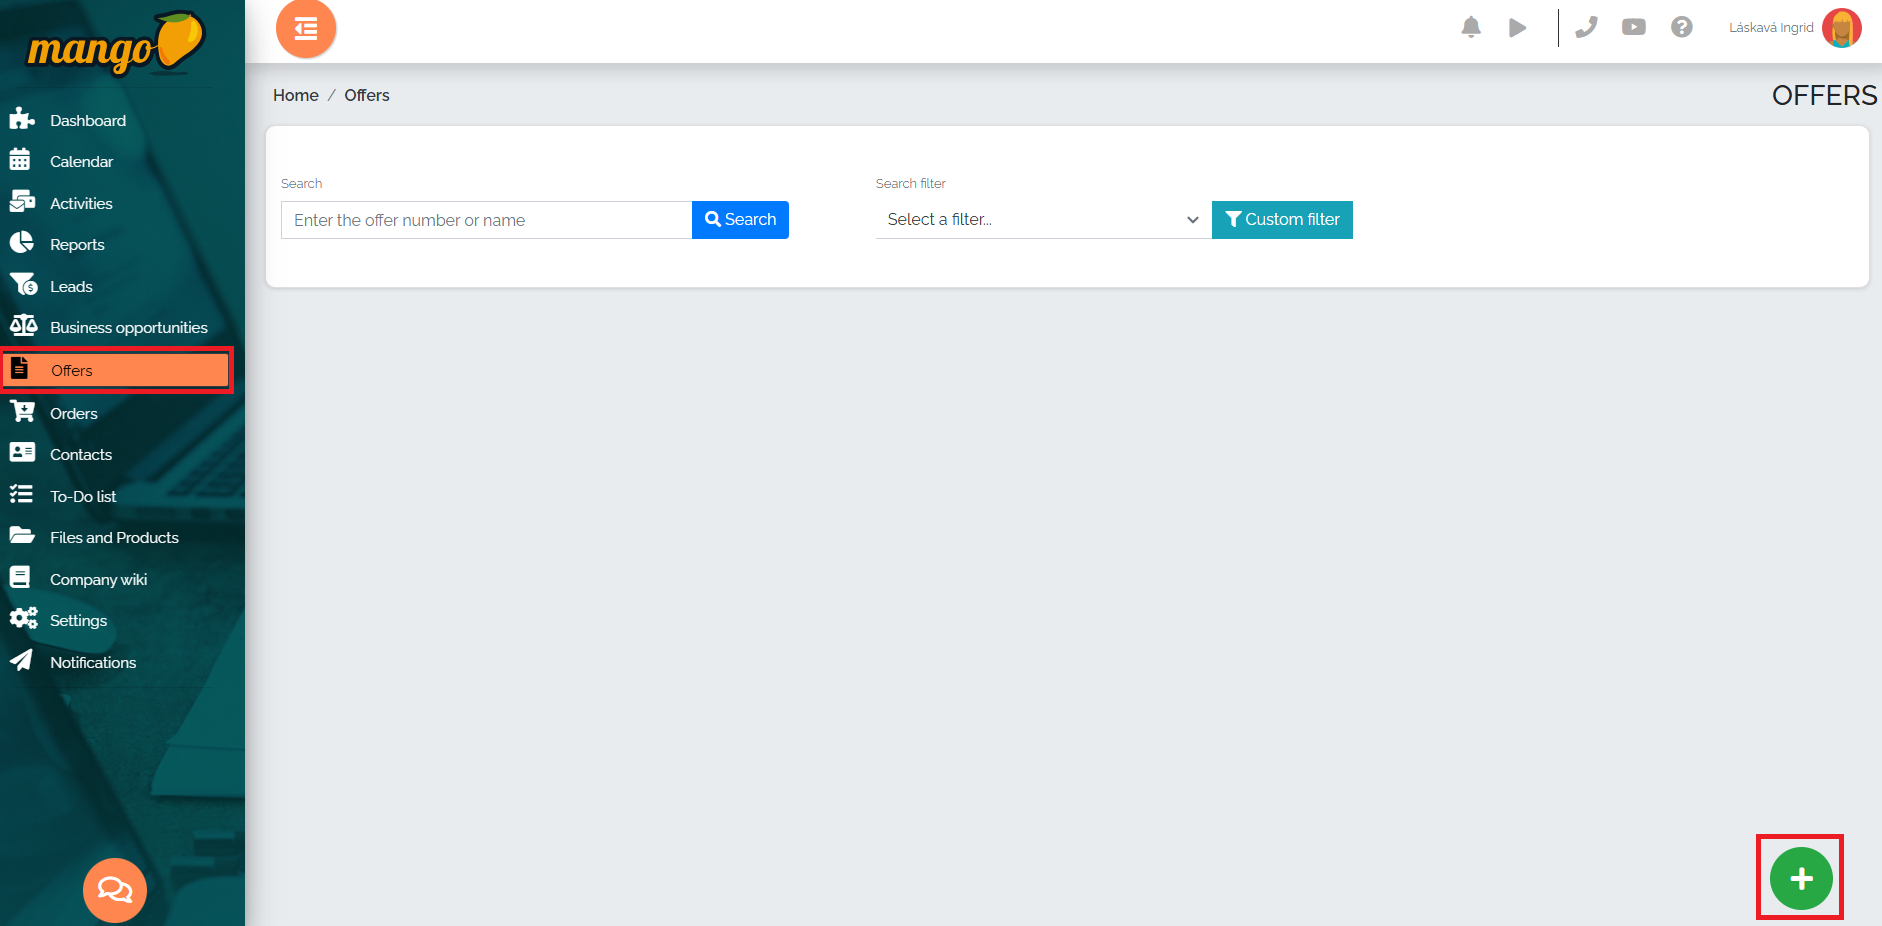
Creating a new (or sample) menu is relatively easy. Click on the Menus section and then on the green plus button in the bottom right corner, which will open the option to create a new menu:
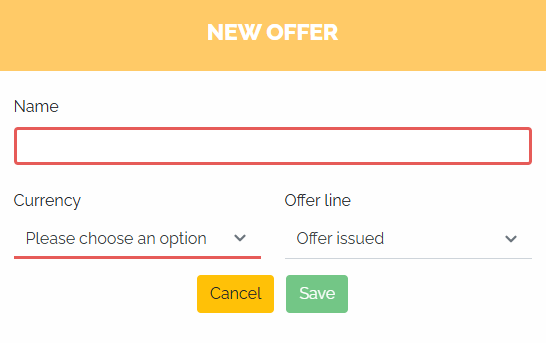
In the next step, a window will appear in which we define the menu name, menu and menu row and press the save button.
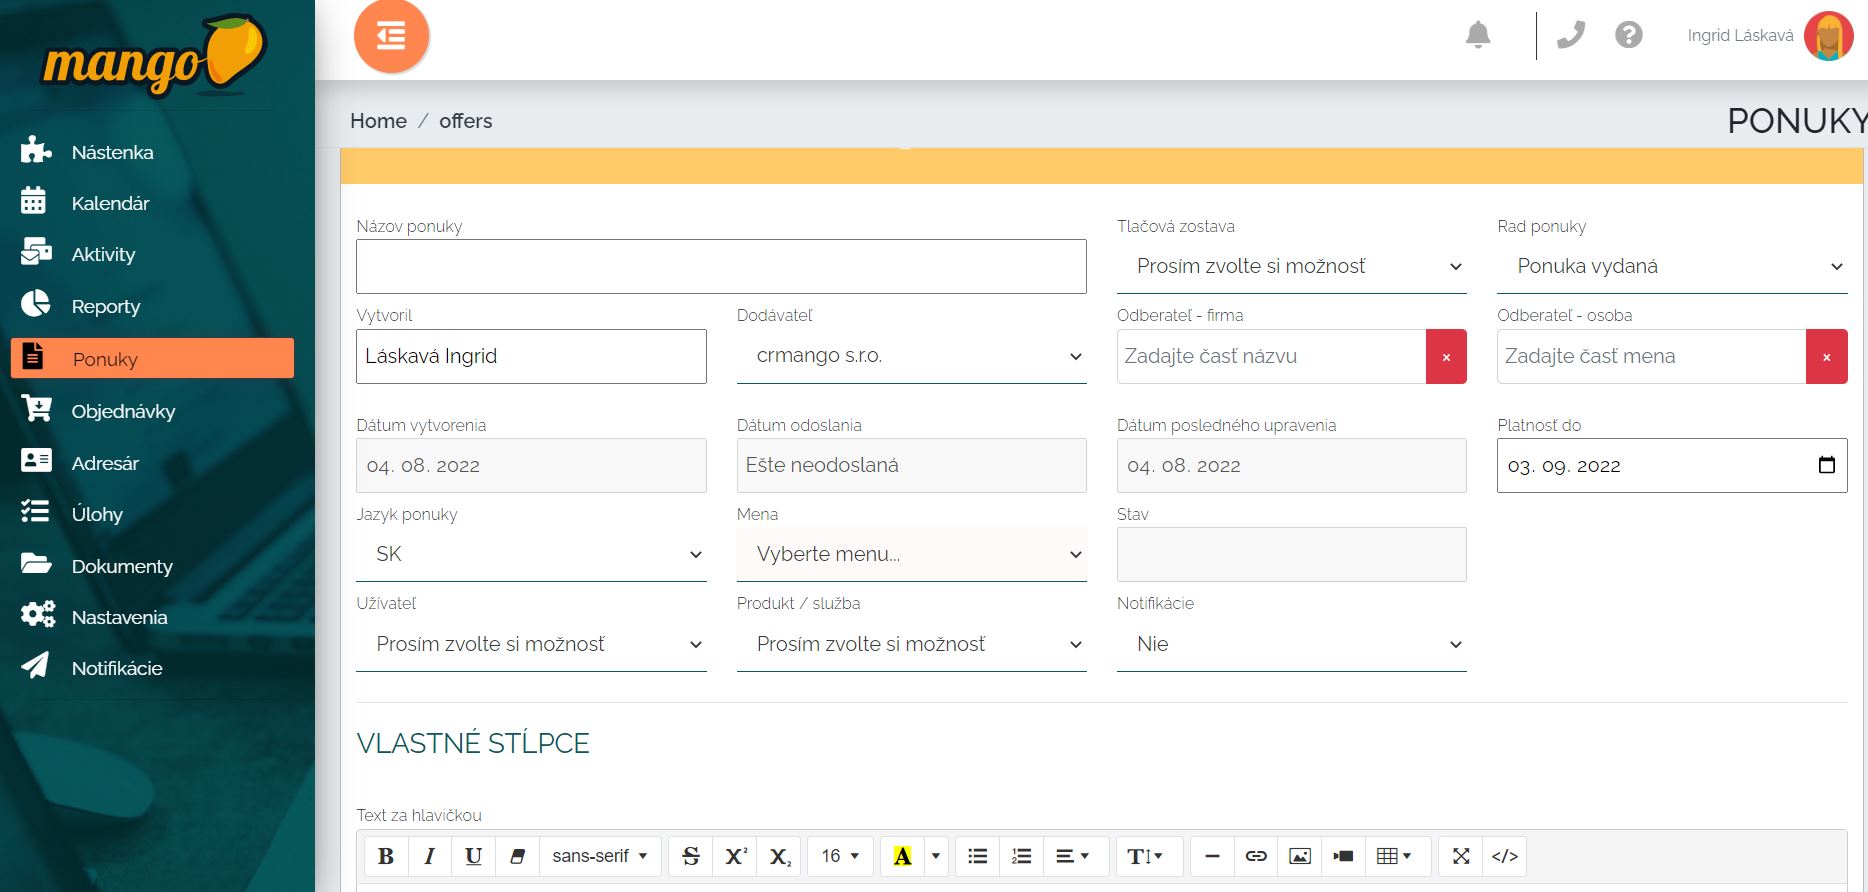
We open the newly created menu in table view by clicking on the pencil icon and continue editing it.
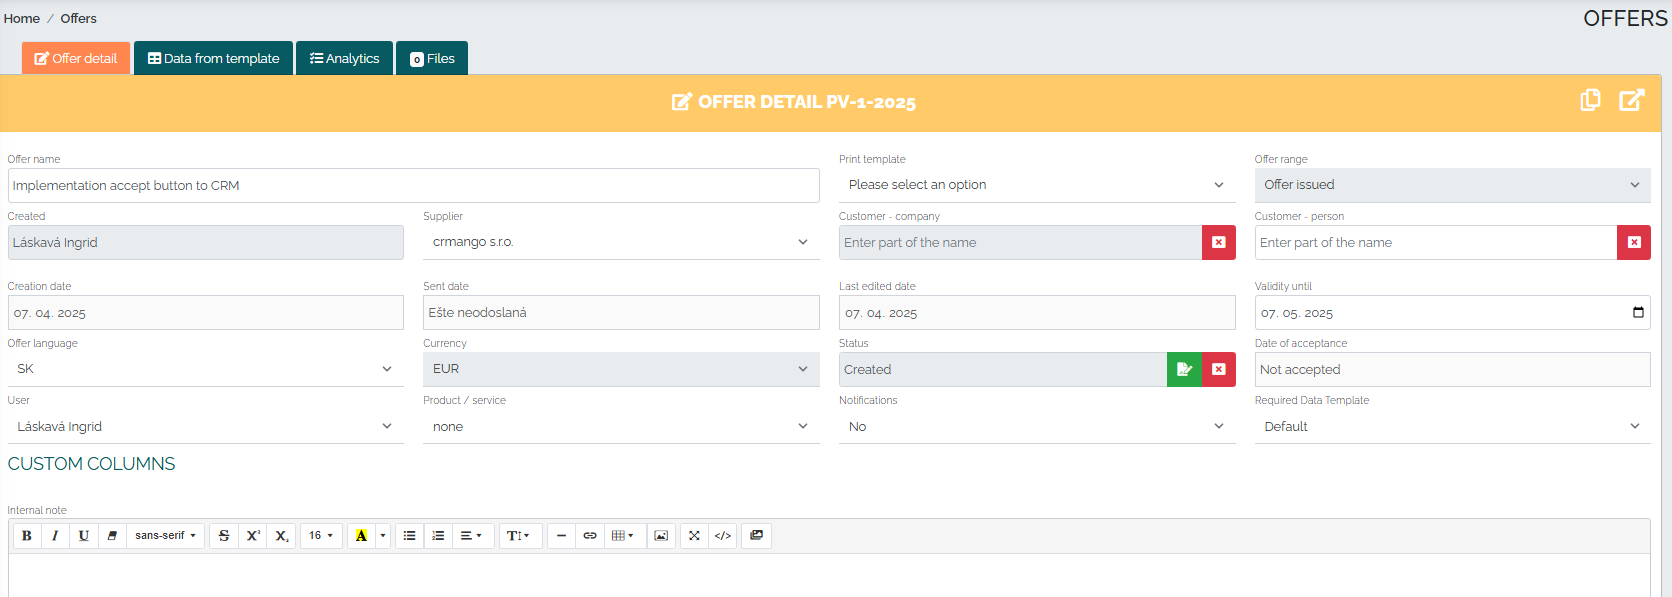
Lets take a closer look at the individual items from left to right:
Offer name - represents a brief description of what the offer contains.
Print report - here you can create multiple print reports (graphic design) depending on the product or service to which the offer applies.
Offer type - this refers to specifying the offer by client type.
Created by - information about the user who created the offer is automatically filled in.
Supplier - here we can choose the supplier who covers the product or service (in most cases also invoices it).
Customer - company - we select a specific company for which we are creating an offer. Here you only need to write part of the company name and the company will be automatically filled in for you from the address book.
Customer - person - if we know the person with whom we communicate in the company regarding the offer, we can select them. As with the customer, this person is also automatically searched from the address book.
Creation date - automatically filled in based on the date the offer was created.
Date sent - automatically filled in based on the date the offer was sent.
Last modified date - automatically filled in based on the date the offer was modified.
Validity until - here the user can define how long this price offer is valid.
Menu language - option to select multiple translations. The menu will be automatically translated into the selected language.
Currency - we can create an offer in different currencies, this currency is always converted using the current NBS exchange rate.
Status - represents the current status of the offer. We have several statuses to choose from - created, sent, read, request for review of conditions, accepted, converted to order, canceled. Based on these statuses, we can clearly filter the offers.
User - the name of the user responsible for the company is automatically filled in from the address book.
Product/service - here we can precisely define which specific product the offer applies to and filter offers based on this.
Notifications - here we set who will be sent notifications about the status of the offer. We can choose the offer creator, the company user, both, or no one.
Mandatory data template - this field is used to fill in the necessary information related to the order.
When creating an offer, we use the CUSTOM COLUMNS option, where we can create various alternatives for better clarity about the status of the offer, for example, whether it has been registered, processed, invoiced. The user can define these custom columns exactly as they need, whether with a check box, a selector with options, a text form, a date, etc. We can mark custom columns as mandatory for other users, or give editing rights only to selected persons.