Custom activities in Mango are used to create a document or template or report on the work performed (e.g. installation report, assembly report, service report, etc.). Custom activities can be the basis for invoicing. Since this is a custom type of activity, it can be recorded in the performed/submitted work and is therefore part of reporting.
When creating your own activity, you can define the various fields and criteria you need - e.g. date selection fields, text fields, multiple-choice lists, checkboxes, signature fields. Of course, you can insert a file or photo. You can also set who can create and edit individual fields, and for whom which fields are mandatory. At the same time, you can determine which fields should be visible when exporting a document to a customer and which should not. You can also send your own activity directly to the customer by email.
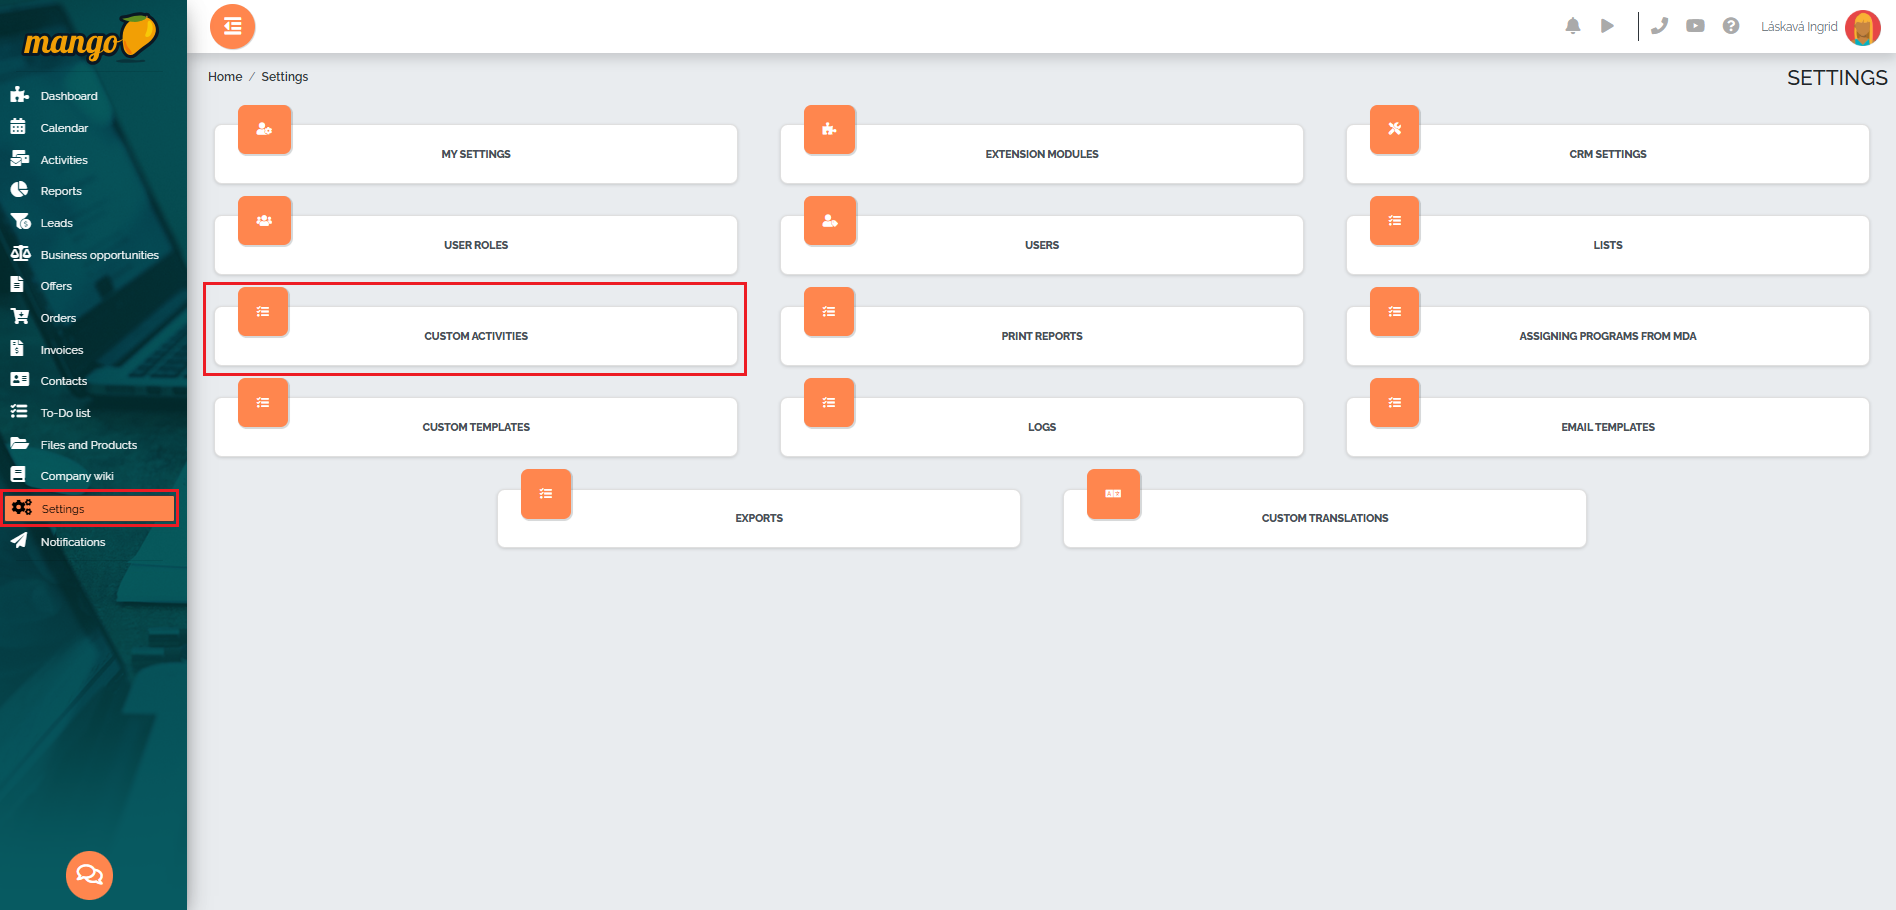
Custom activities can be found in the Settings section, where we select the Custom activities option in the main menu:
We create a new custom activity using the green plus button in the lower right corner of the screen: 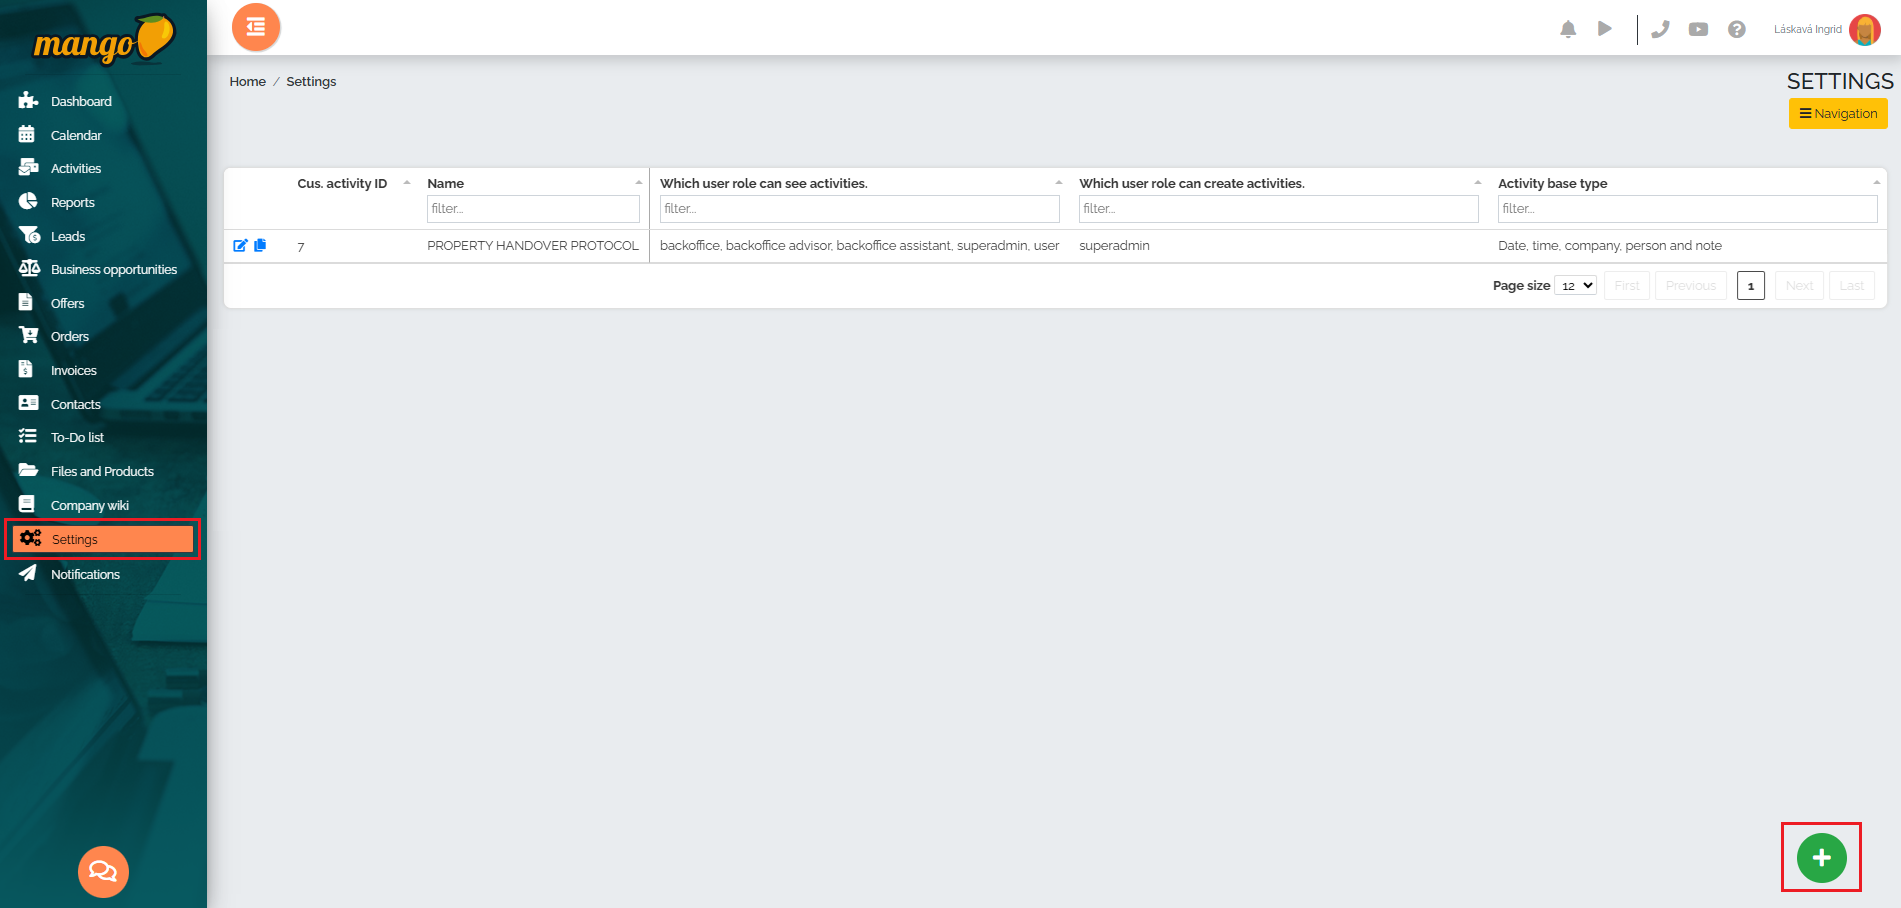
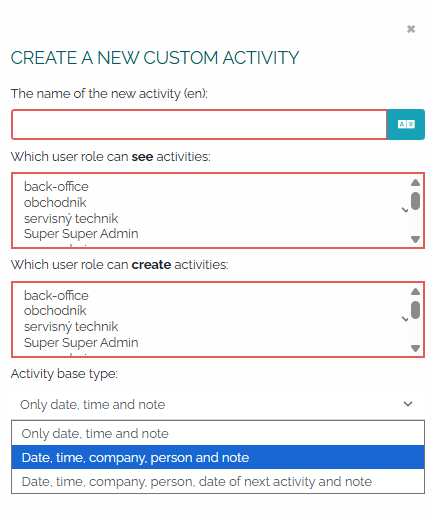
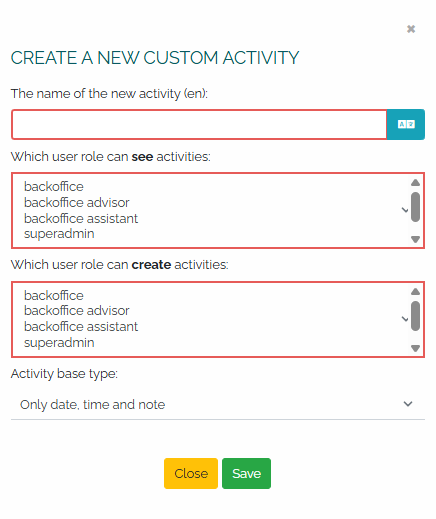
Then, in the new table, we fill in all the required fields such as the activity name, we select the user role that can see this activity and also the user role that can edit this activity. In the last row, we select the Activity Base Type, i.e. whether we wish to record:
1st option: only date, time and note (e.g. work record - programming)
2nd option: date, time, company, person and note (e.g. assembly protocol with company/person selection and the option to insert a note),
3rd option: date, time, date of next activity and a note (e.g. assembly protocol, with the proviso that the next activity may mean, for example, sending a satisfaction questionnaire).
After saving, the newly created activity will appear in the list and we can start editing it by clicking the pencil icon:

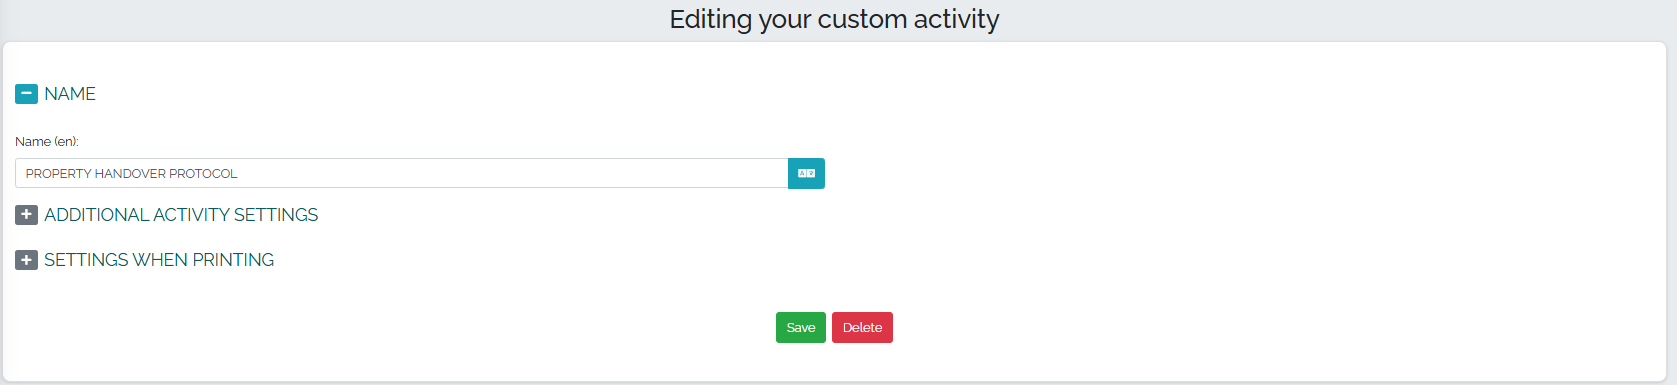
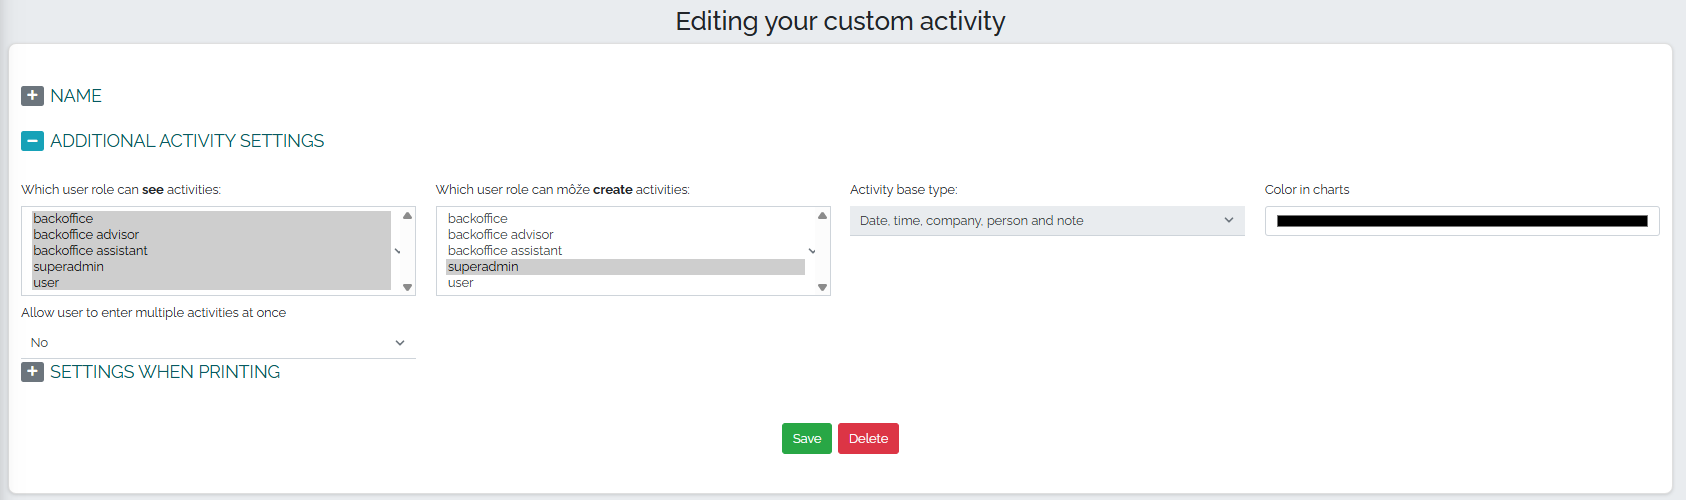
Then, the activity details will open, where in the first section titled Editing your own activity, we can edit the activity name:
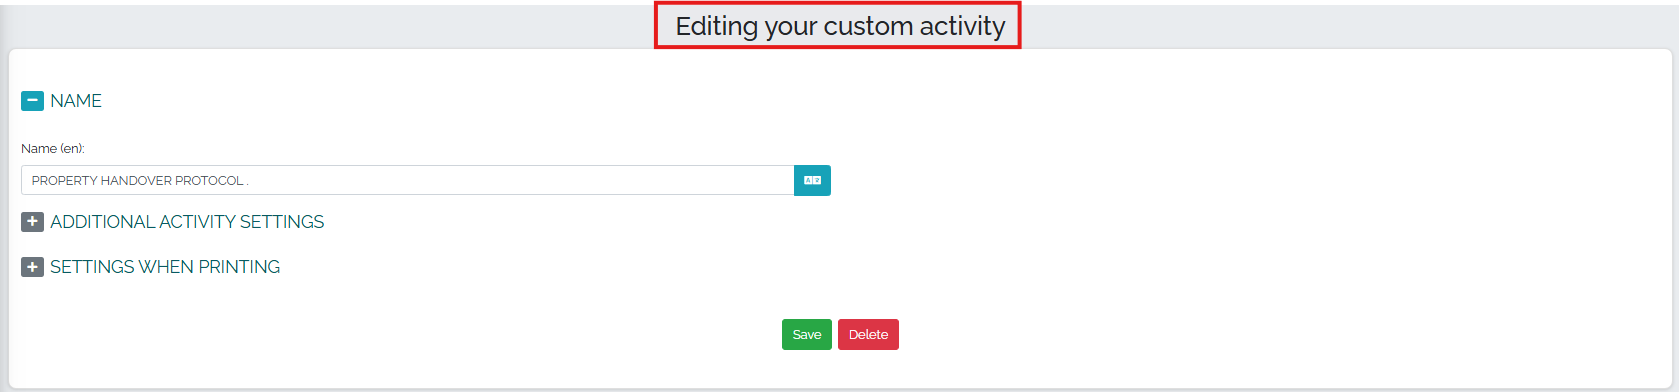
We can also edit who can see the activity, which user role can create it, and the color in the graphs. The activity type cannot be changed at this stage:

The last option offers printing settings, where we can choose to display the date and time in the activity header, display the company/customer/logo in the activity header. In the last field, we can choose which address book columns we want to display in the printed form of our own activity:
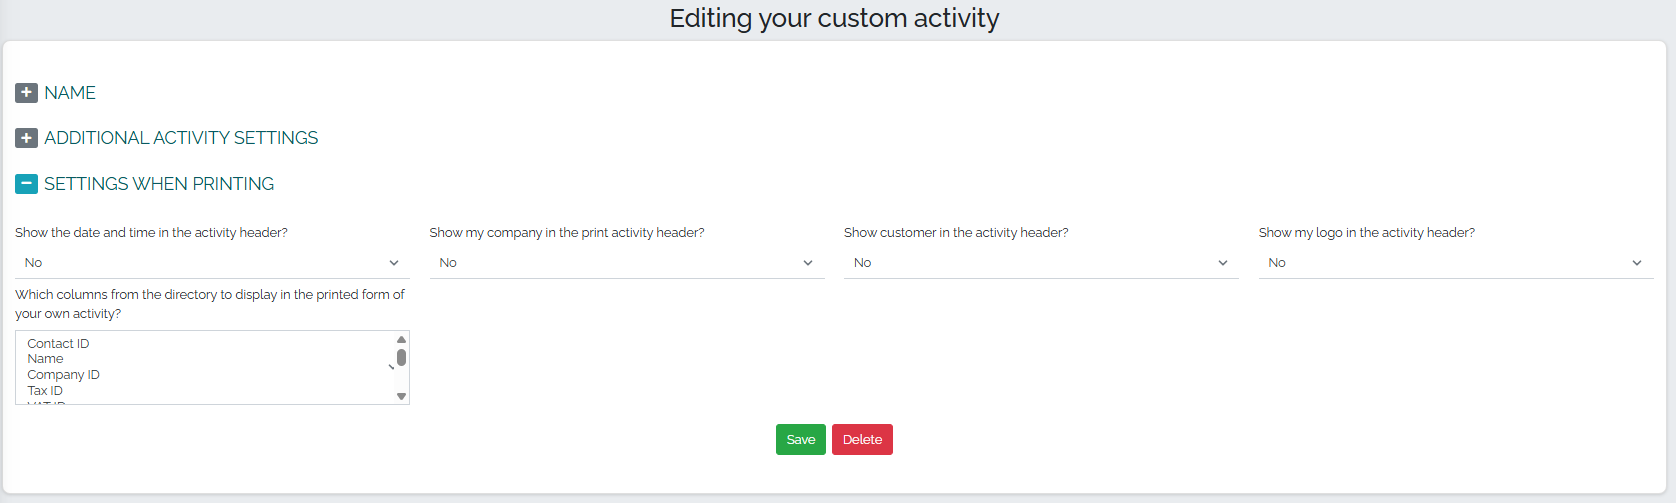
Finally, all you need to do is press the save button.
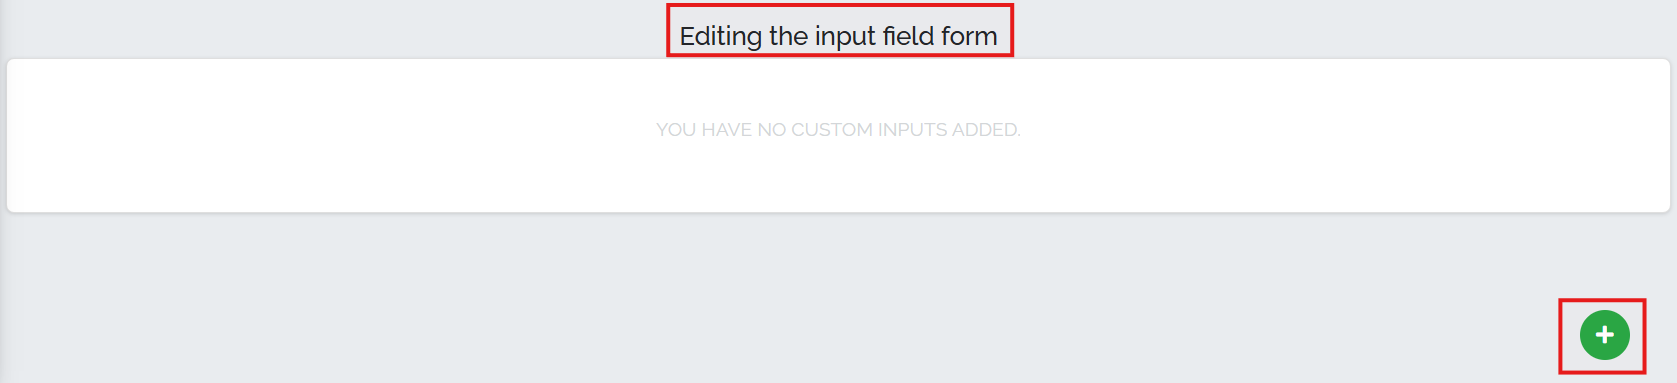
In the second part, titled Editing the input fields form, we move on to creating the fields of our own activity. We add an item by pressing the green plus button .
Then a window will appear in which we can select the input field type and field name. We have several input field options to choose from: Section title, Separator line, Short text, Text field, Number, Date, Time, Date and time, List, List with multiple selection options, Checkbox, Color, Signature, Company from address book, Persons from address book, File, HTML objects, Products from order.
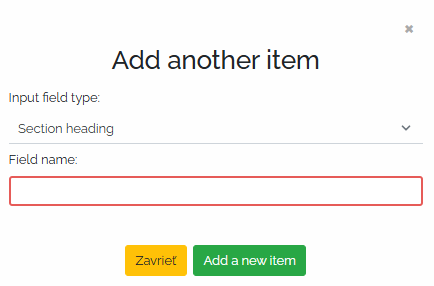
As a sample example, we decided to create our own activity called PROPERTY HANDOVER PROTOCOL - that is, we will create a simple sample protocol for the handover and takeover of a property, which consists of several types of items.
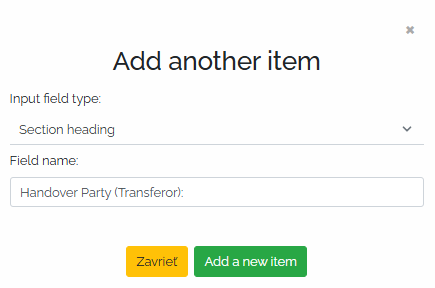
The first type of item is Section Title and in the Field Name field we have entered the name of our sample protocol. We save the item by pressing the Add New Item button:
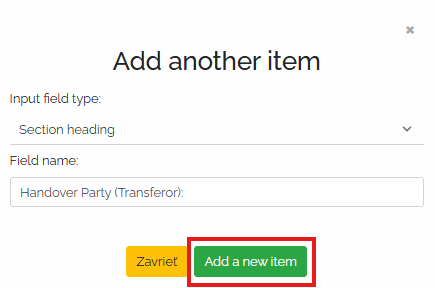
This item - i.e. the title indicating the transferor of the property - is immediately visible in our transfer protocol after saving.

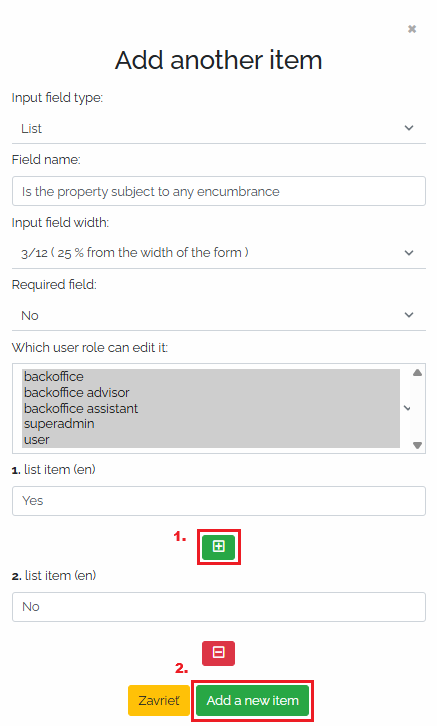
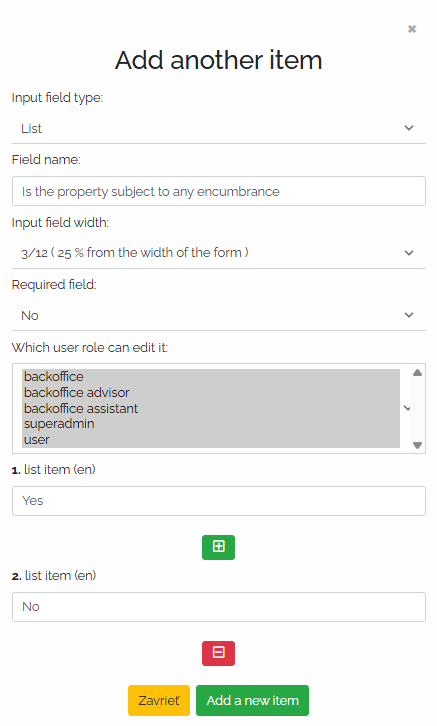
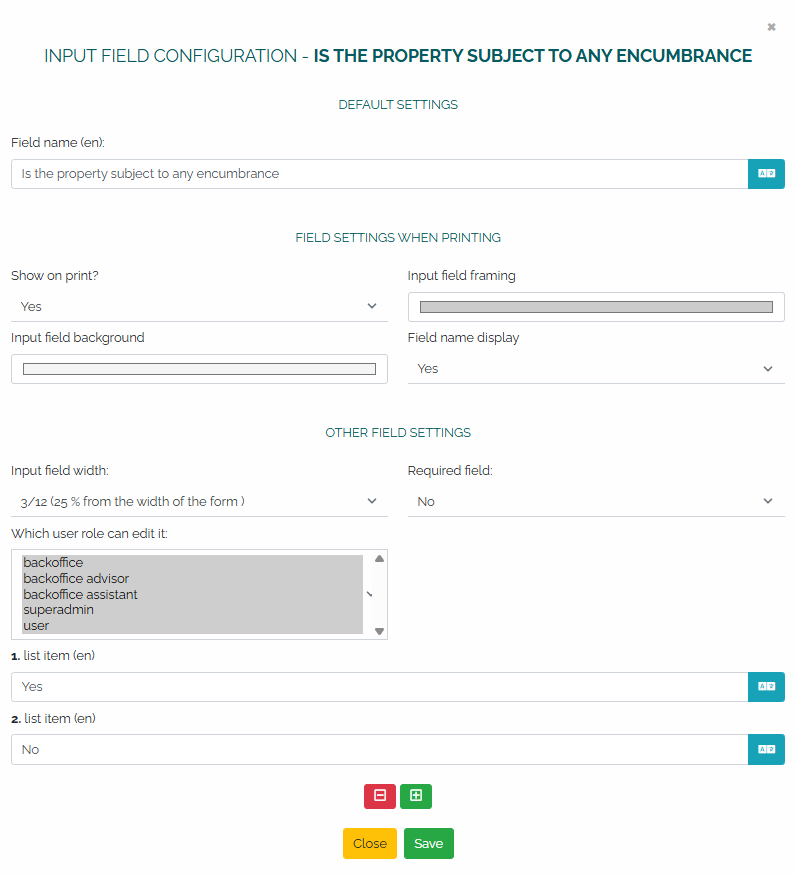
The second type of item is a list with the option to select one answer. For example, this is a question about whether the property being taken over is encumbered by a burden. There will be two answers to choose from - yes or no. So, we will select the type of input field - list, select the field name - Is the property encumbered by a burden, set the field width, determine whether the item is mandatory or not and select the user roles that can edit this field. In the last step, we will select the options from which it will be possible to select answers. In the field marked as 1. list item, we will enter the answer yes - Yes. We will add another option by pressing the green icon with a plus sign (No. 1) and enter the answer no - No in the field. After filling in all the fields, confirm the addition of the item by pressing the Add new item button (No. 2), as can be seen in the image below:
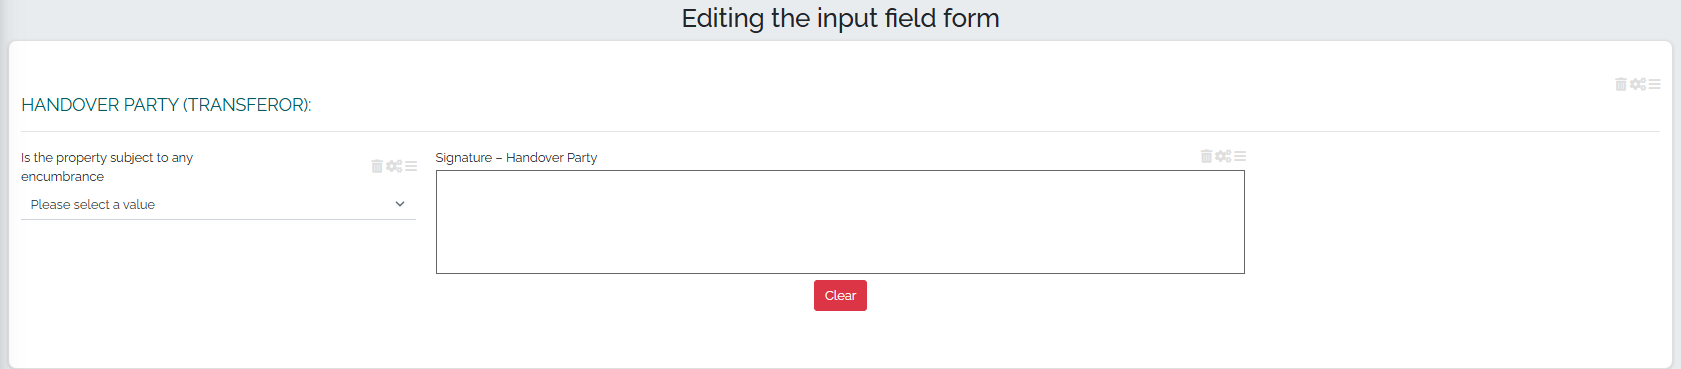
After saving, this item is visible in our sample log:

Another very important type of item is signature. We create a new item using the green plus button . We select Signature as the input field type, and enter Handover party signature in the field name. We selected 6/12 for the input field width, set the field as mandatory, and select that only a user with the superadmin role can edit this field. In the next field, we select which fields should be locked after signing (multiple or all options can be selected), and we selected 4 for the text field height, as can be seen in the image:
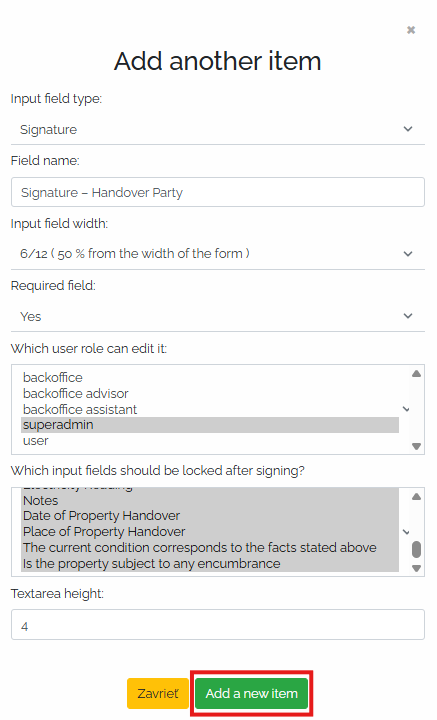
By clicking the green Add New Item button, we save this item and we can see it in the log along with previous items as follows:
We can edit, delete, or rearrange all created items in our log. To do this, we use the icons in the upper right corner of each item: 
The trash can icon is used to delete an item. The gear icon is used to edit the field - after clicking on this icon, a window will appear in which we can directly edit the name of the item, whether we want to display it when printing, the field border, the background color, the display of the name, but we can also adjust the width of the field, who can edit this field and whether the item is mandatory or not, or even the list items that we previously defined:
The icon with three lines allows you to move items to any location within the report - for example, when editing the order of fields. Items can be moved easily using the drag and drop function - just click on the item, hold it, move it to the desired location and then release the mouse button.
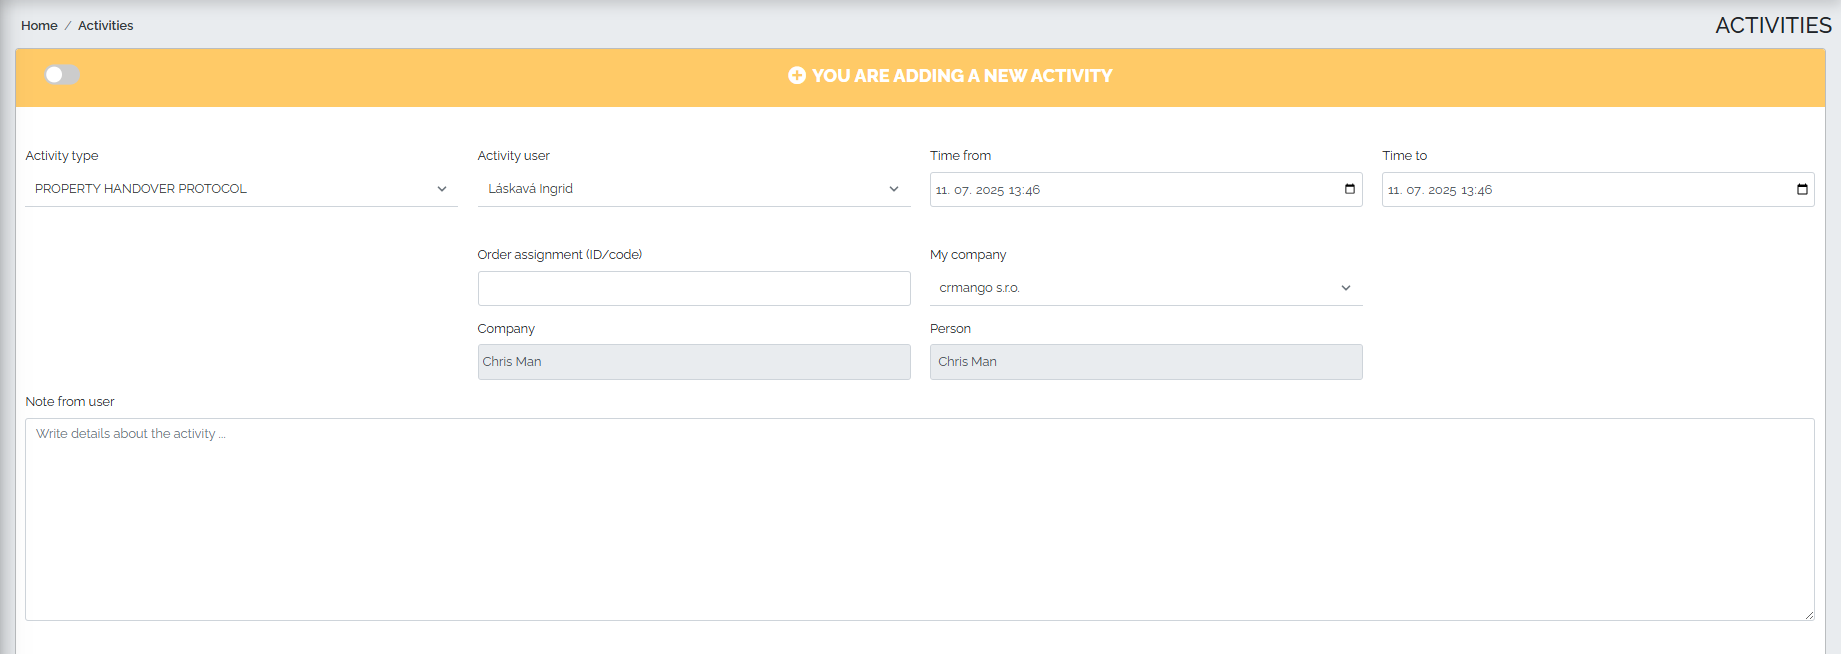
If we have created all the necessary fields, we will move to the Activities section and fill out this handover protocol. In the Activities section, we will create a new activity using the green plus button , and select PROPERTY HANDOVER PROTOCOL as the activity type. A new window with the activity will open, where it is necessary to complete the fields: My company, Company name/surname FO/Personal identification number/ID number and, if applicable, Surname of the person. In the last field, there is an option to add a note to the activity:
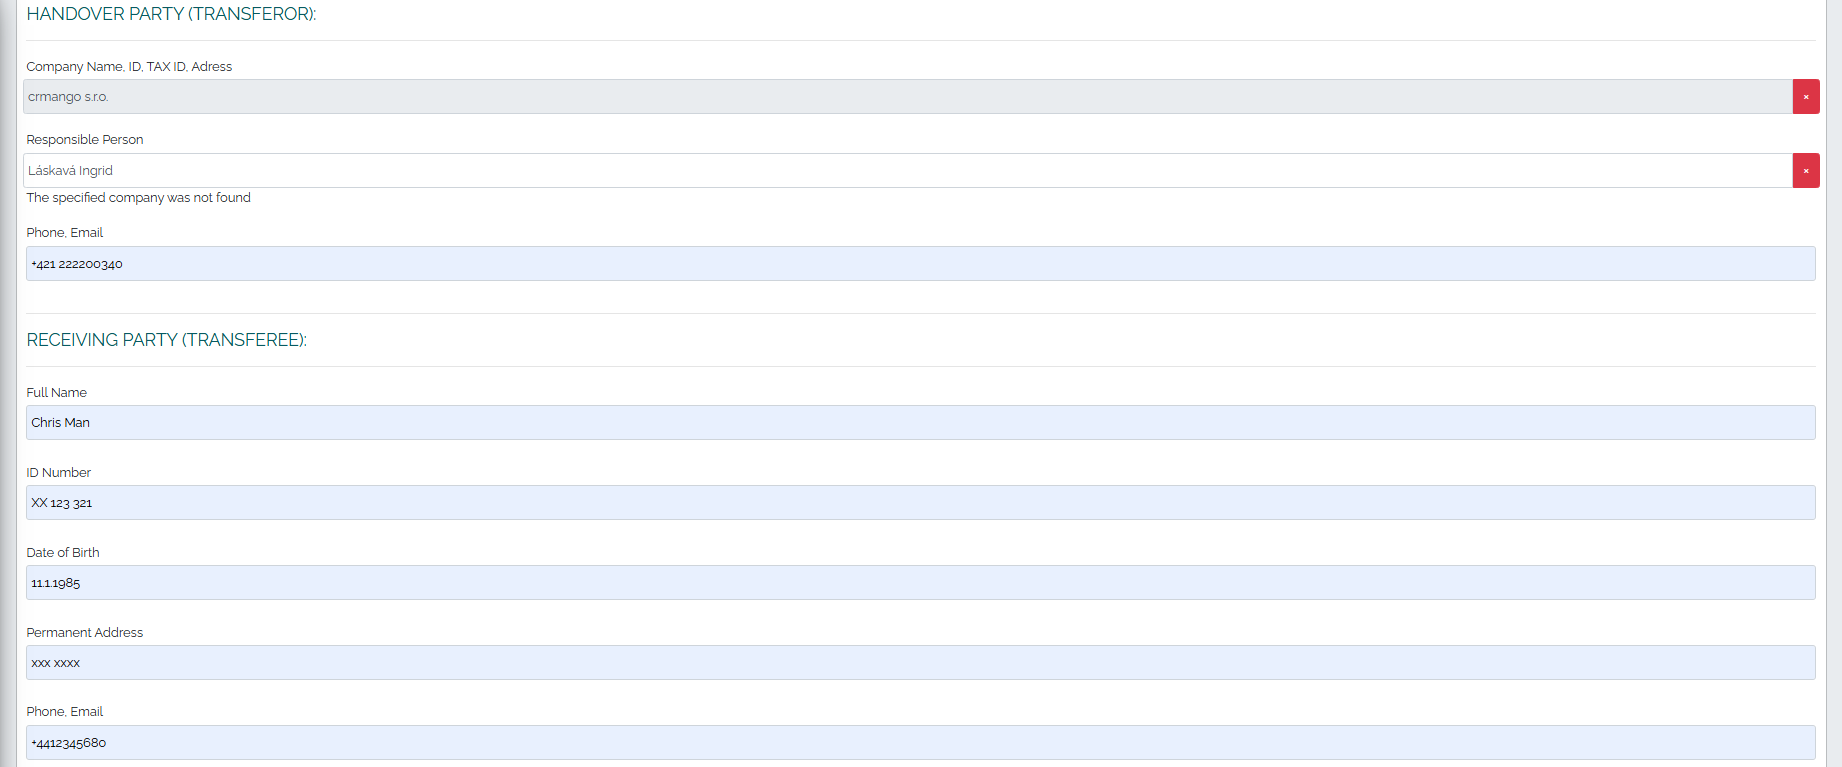
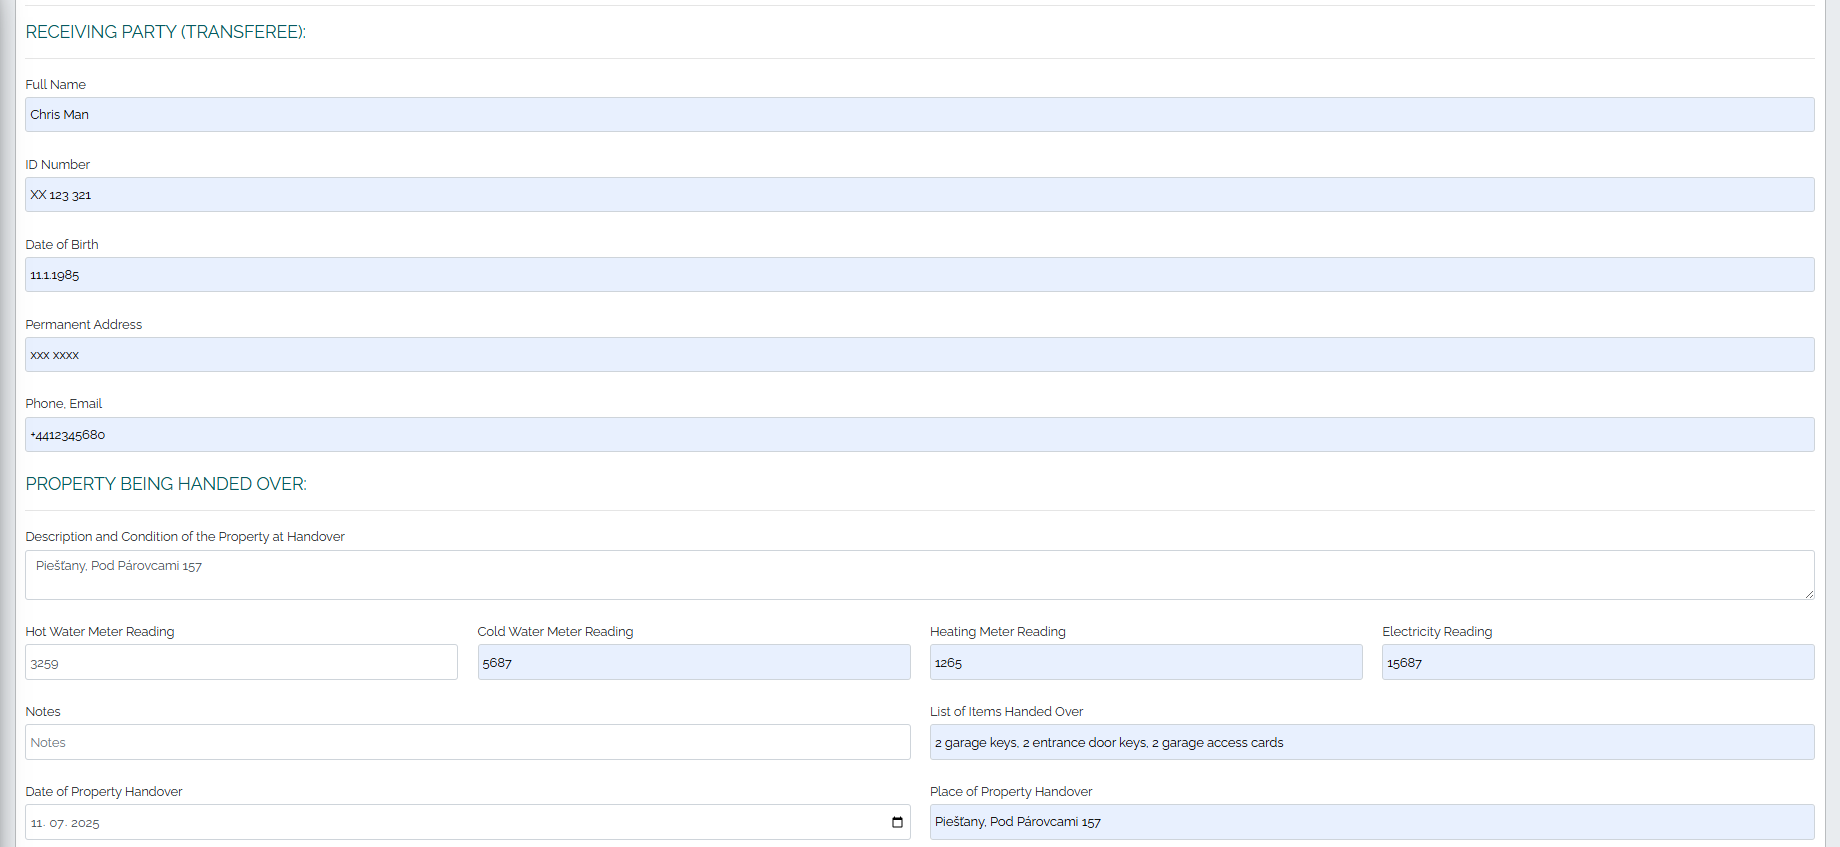
In the next step, we will fill in all the fields of our protocol and finally both parties will sign it:

After signing the protocol, Mango offers us two options:
1. By pressing the green Add activity button (No. 1), as shown in the image above, we save the activity. We can view the activity later in the Activities section.
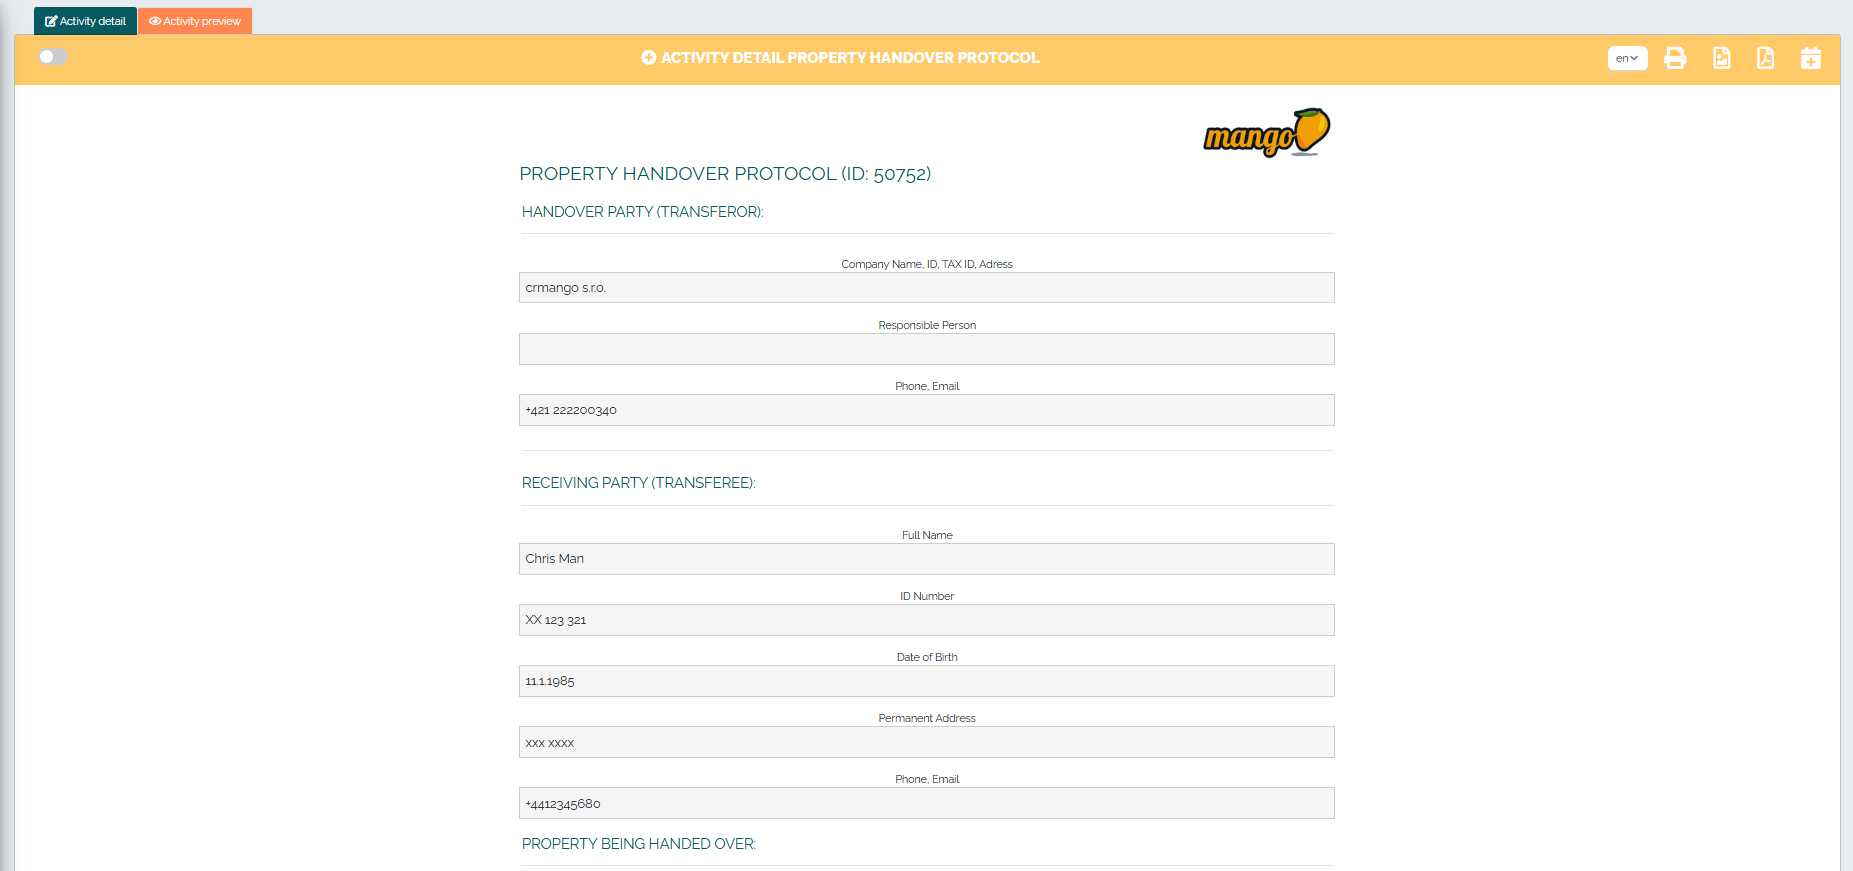
2. If we click on the Add activity and - view preview option (no. 2), we will see the completed protocol.
In the upper right corner of the activity header there are five symbols that offer the following options:

1. Change language
2. Print the document
3. Download as image
4. Download as PDF
5. Add to calendar.

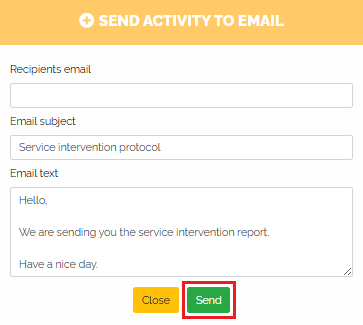
At the end of the report there is a blue Send by email button, thanks to which we can immediately send the report to the customer by email. By clicking this button, a window will appear in which we need to enter the recipients email, edit the predefined subject and message text and press the green Send button:
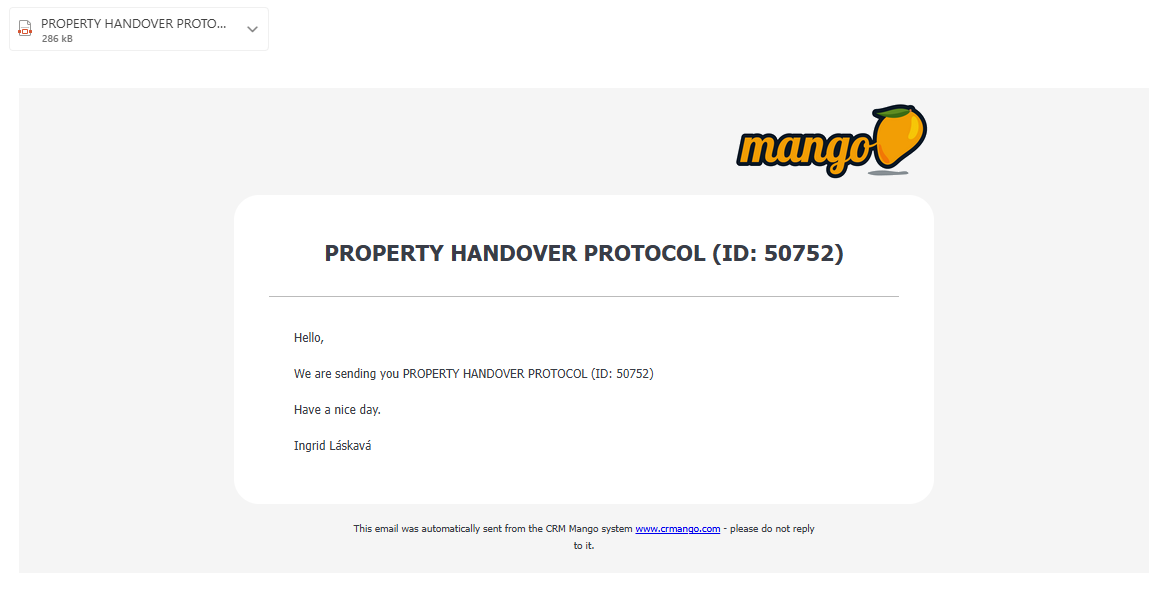
The customer will receive an email with an attachment, which may look like this: