We create a new task in the Tasks section using the green plus button (bottom right):
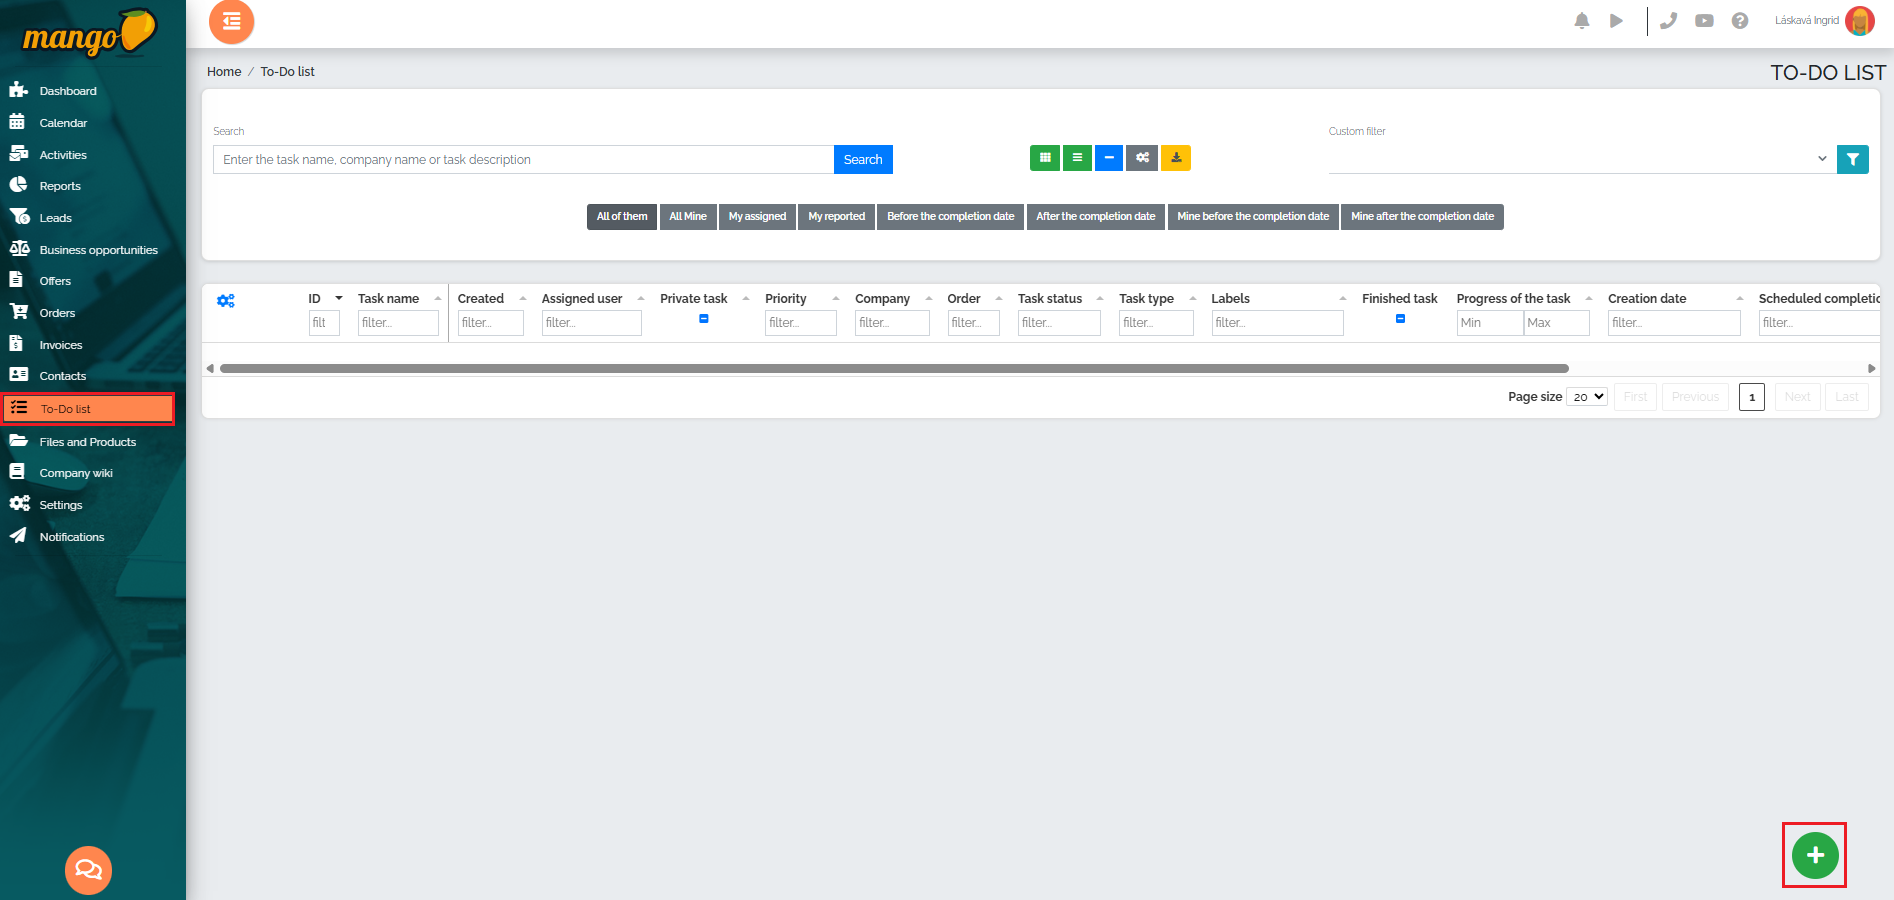
A new empty row will then be created in the list with the task assigned an ID number. The other fields must be completed. 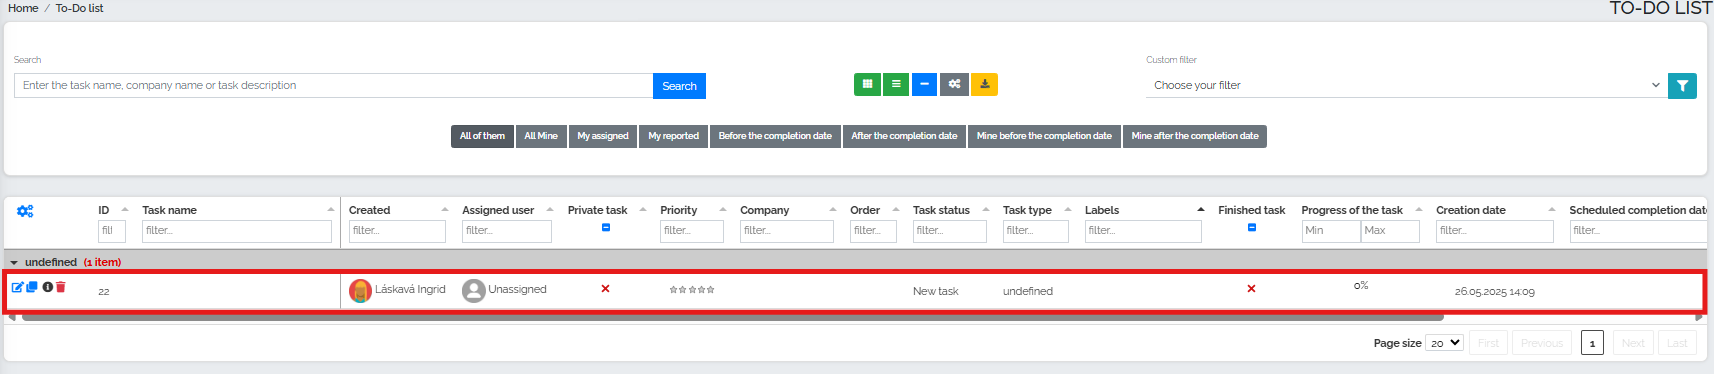
The entire task can be edited and data entered directly in this table view - we insert the task name, assign the task to a user (ourselves or another colleague), set the priority, add the company name, a label, or we can choose the private task option - in this case, only the person who created the task can see the task. We can also select the planned completion date of the task and gradually update its progress. A completed task may look like this, for example:

Of course, the user is notified by email about:
- task assignment,
- editing the task,
- the approaching deadline for completing the task,
- the deadline for completing the task has passed.
Users can also receive nightly email notifications about assigned tasks, their changes, and deadlines.
Tip:
To speed up the entire process of entering a new task , you can use a link that will automatically take the user to the option to create a new task: https://customer.crmango.com/?page=todo&action=new
We also have a link here that takes the user directly to a task with a specific company by entering the client ID number: https://customer.crmango.com/?page=todo&id=id_number_task customer