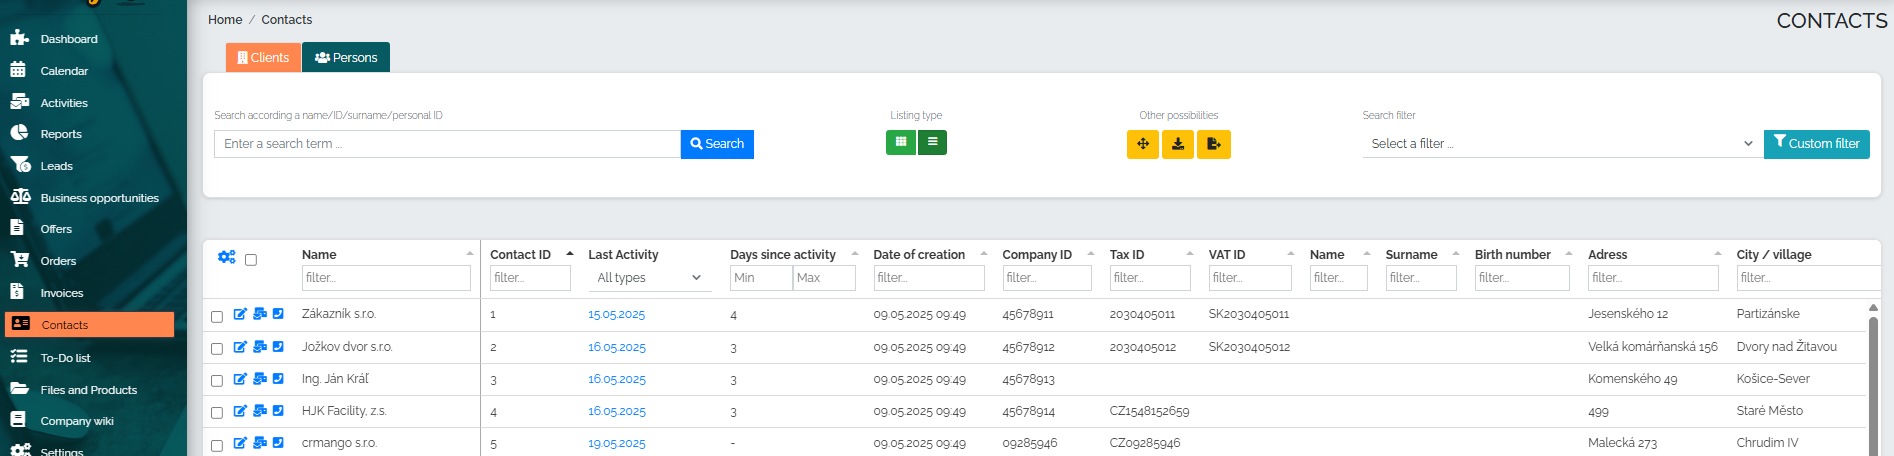
We consider the detailed view to be the basic display of contacts in the address book. After clicking on the address book section, the list of contacts is automatically displayed one below the other in rows, i.e. in the so-called table view.
If the user is currently viewing contacts in a simple (card) view and would like to switch to a detailed view of contacts, simply click the green Detailed table button, as shown in the image below (No. 1):
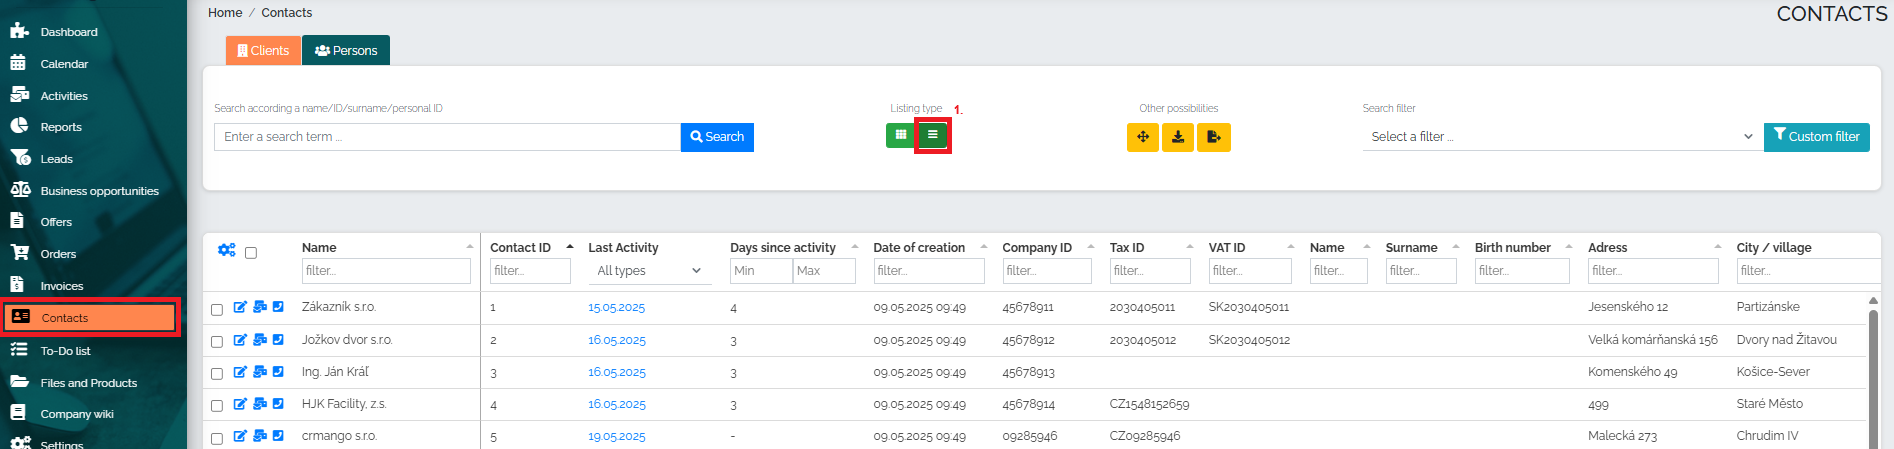
The user can also set the number of contacts they want to display on the page. This data can be found in the bar below the last contact in the table:

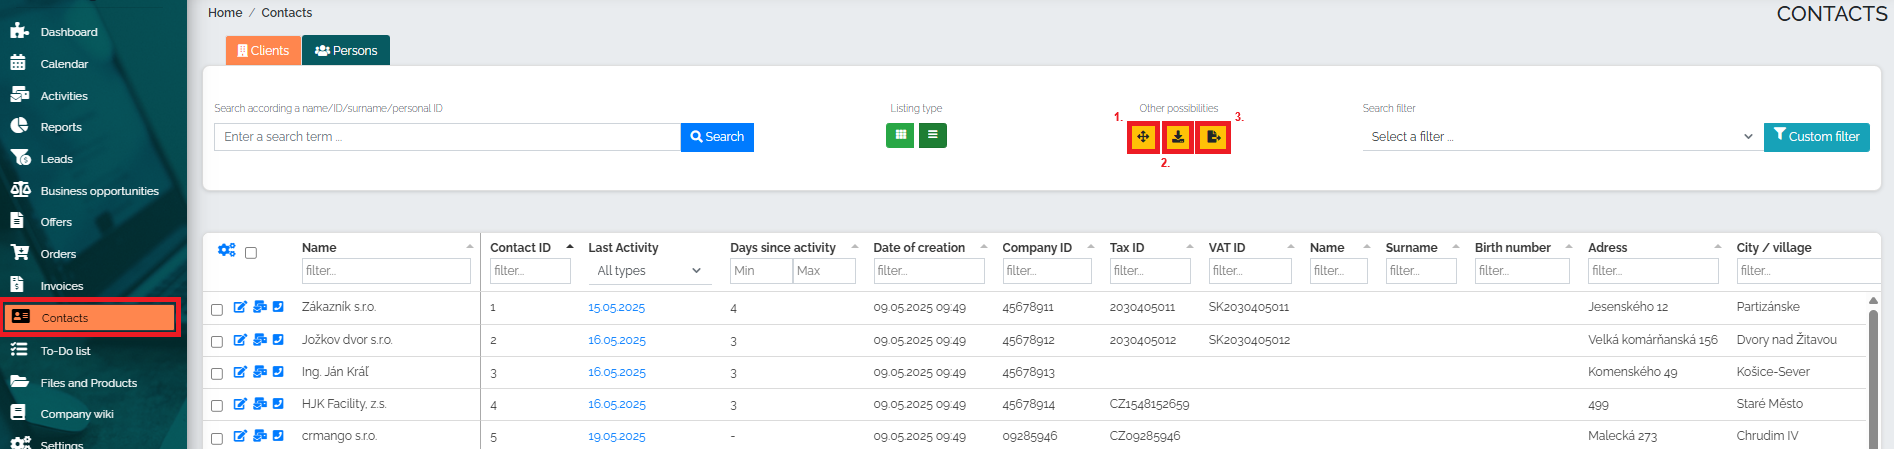
Mango also offers us other options for working with this type of display. For example, by pressing the yellow square, which is marked as No. 1, we can open this table view and display it in full screen. Using the button marked as No. 2, we can download the table to MS Excel. The last option is Import and Export data, where the user first downloads the file, adds his new contacts and then imports it back again.
As already mentioned, the advantage of this view is the ability to edit data by clicking directly on a specific record. Changes are automatically transferred to the company detail. However, if we want to expand the company detail or edit more items for a given contact, we click on the pencil symbol (no. 1), as we can see in the image below. By simply clicking on the button marked no. 2, we can view all types of activities associated with the given contact. If we want to see the details of the last activity (date, time, type of activity and user), we click on the date marked in image no. 3.

Of course, you can sort the columns in the table according to your preferences and needs - simply by clicking and dragging the column name in the header. This way, you will have all the information you need immediately available.