Email templates simplify and speed up communication with customers, while ensuring a uniform style and professional content of messages. They enable personalization, automation and efficient mass sending, saving time and minimizing errors. Creating an email template is very easy, as is sending, which is targeted and can be used for marketing purposes, but also for announcing news, comments or planned system outages.
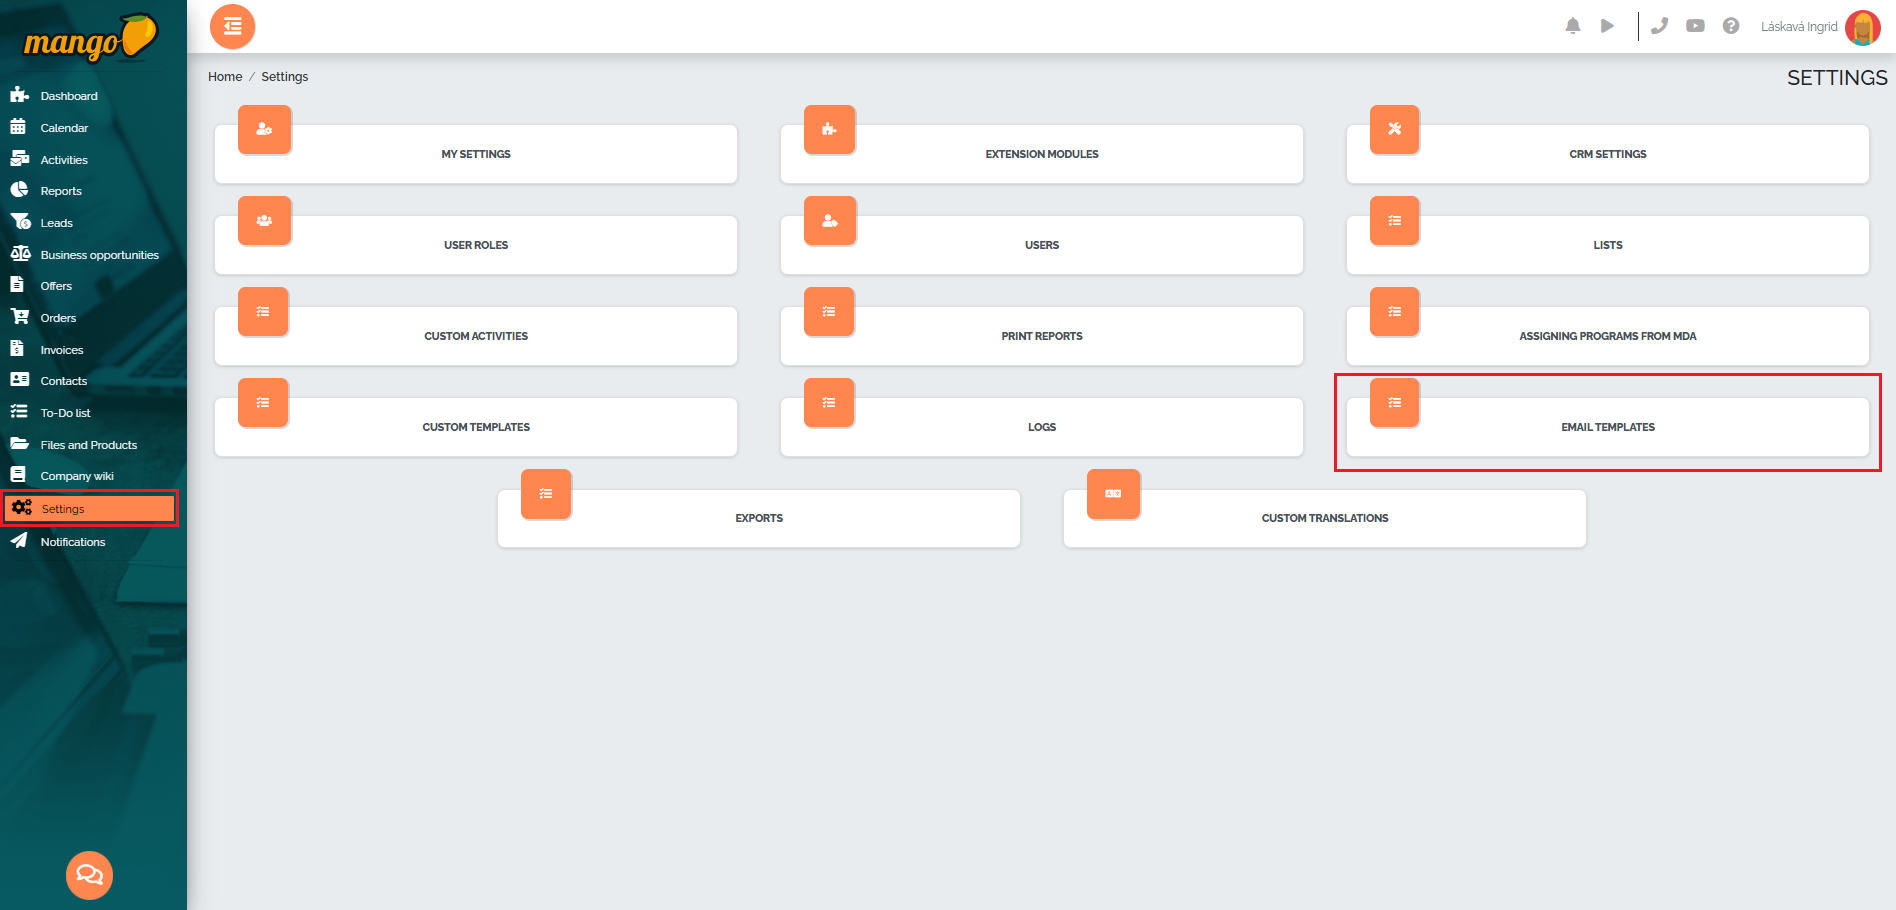
Email templates can be found in Settings:
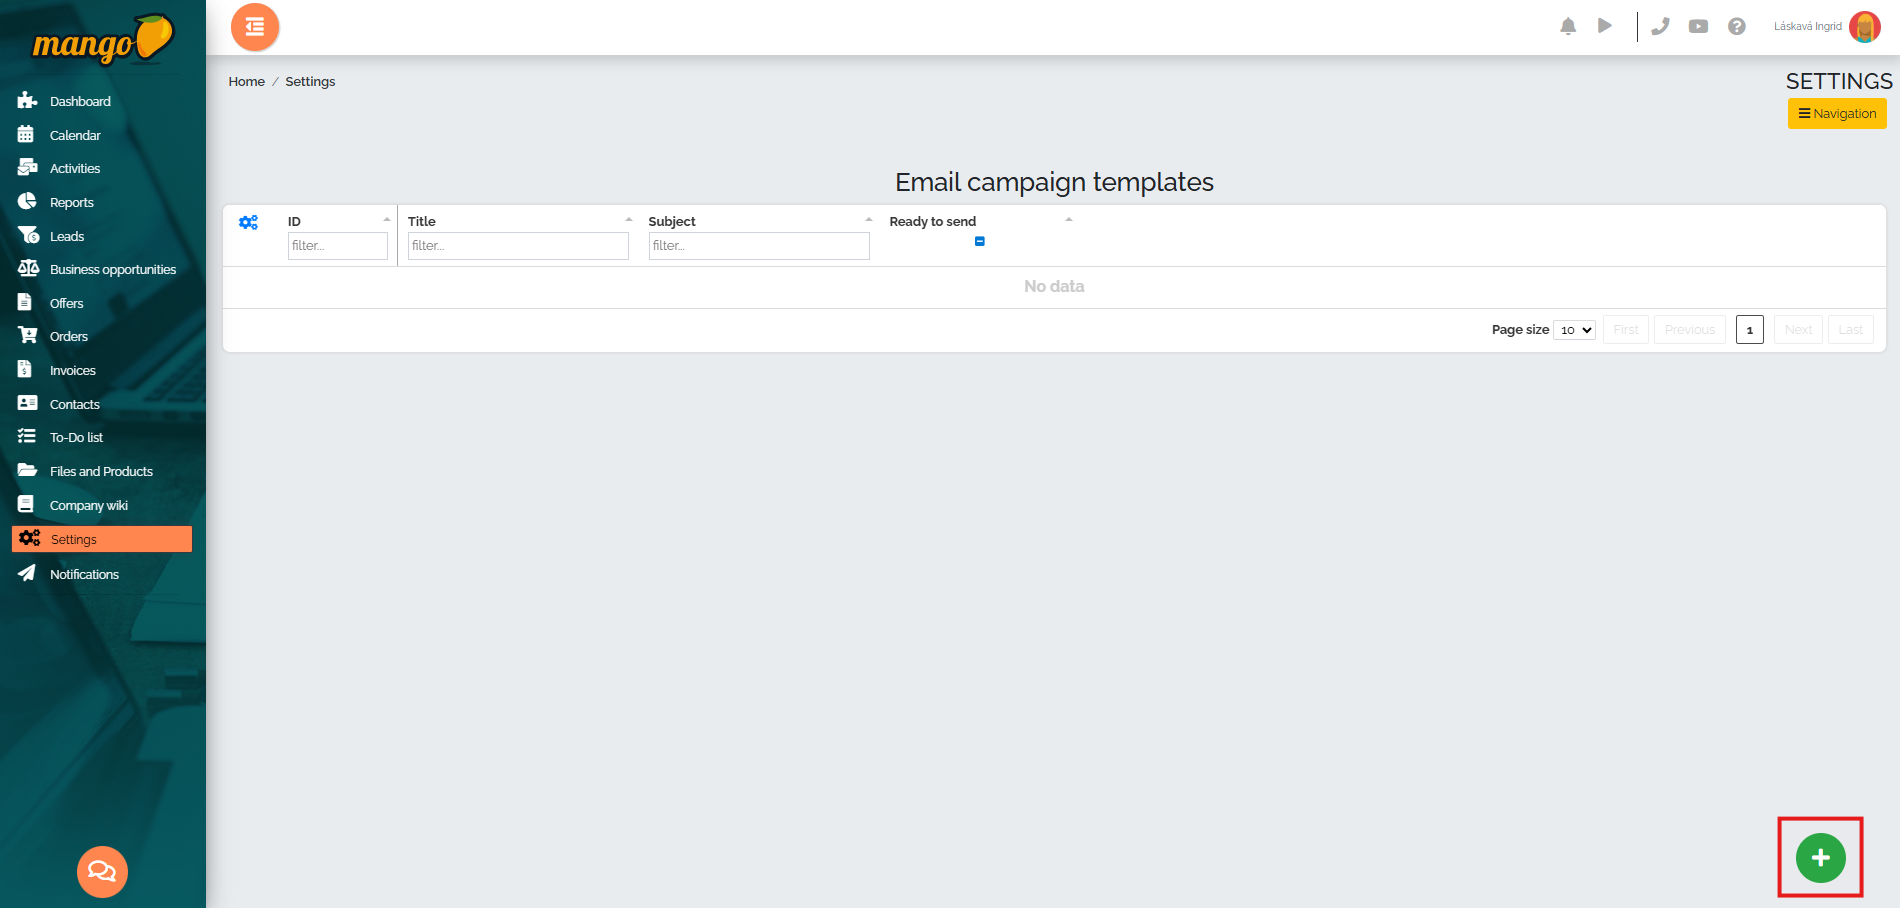
We create a new template by pressing the green plus button in the lower right corner of the screen:
The campaign details will open, where we will fill in all the necessary fields - campaign name, which companys users can use the campaign, whether the campaign is ready to send, aliases, email subject, email text. 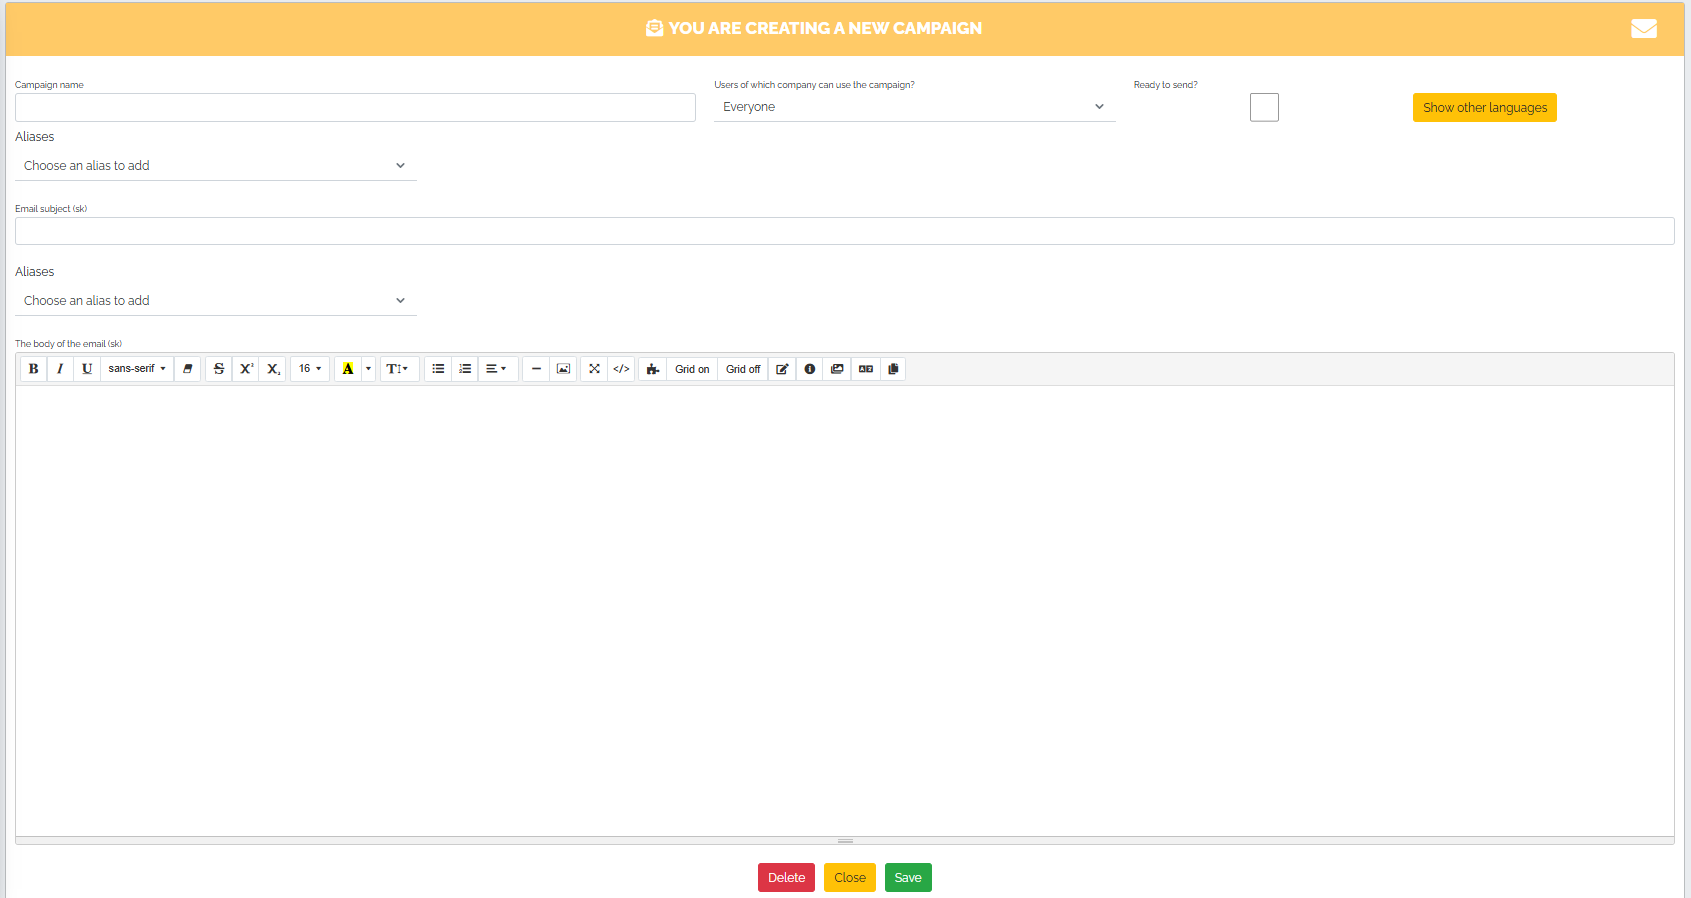
Lets imagine that we are a WebNET company that provides internet access and we want to notify our customers of a planned outage. For this purpose, we will create a very simple template and insert the name of the campaign - e.g. Scheduled maintenance - Planned outage and also the subject of the email. Then we have 2 options - we will fill in the text of the email and send it, or we will create a template that will contain a logo, text that we want to sell to clients and possibly insert an image. So lets create a template that we can use in the future with a slight modification.
In the first step, we click on the button with the puzzle symbol: 
After clicking, a new window will appear, showing various elements and layout options:
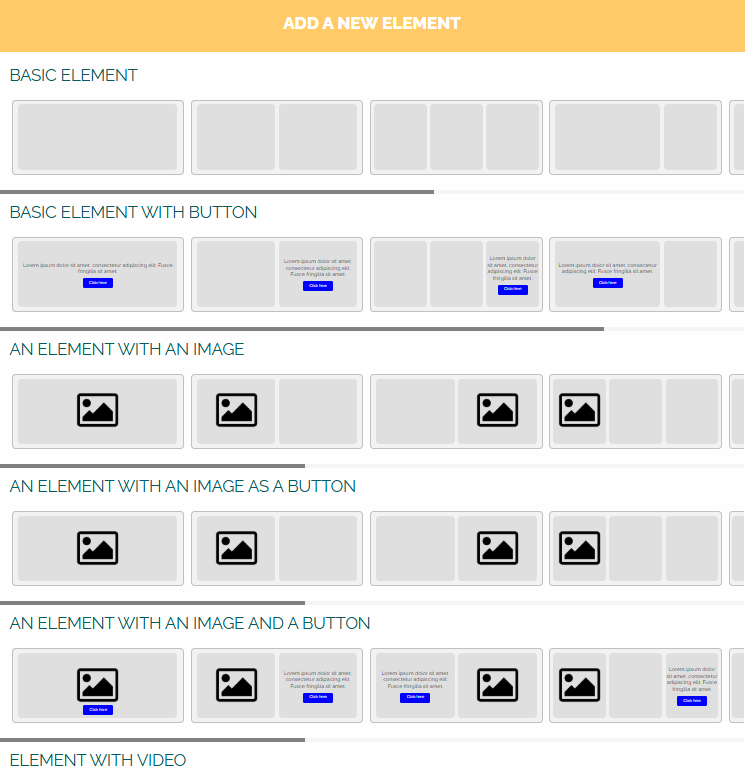
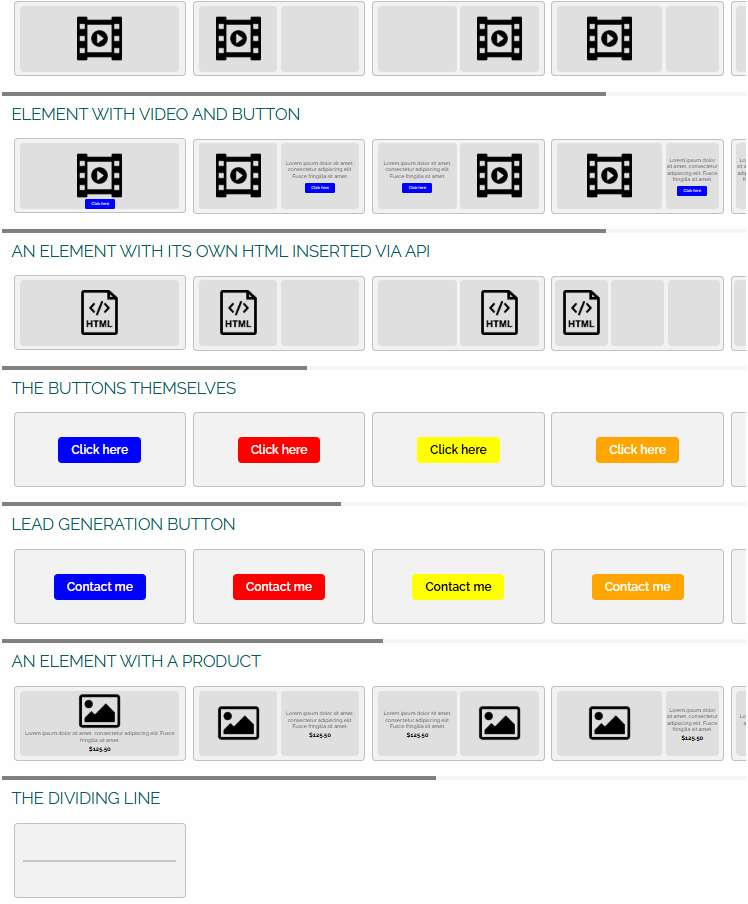

As a first step, we select the element with the image, click on the image and the options panel will appear, and click on the pencil icon:

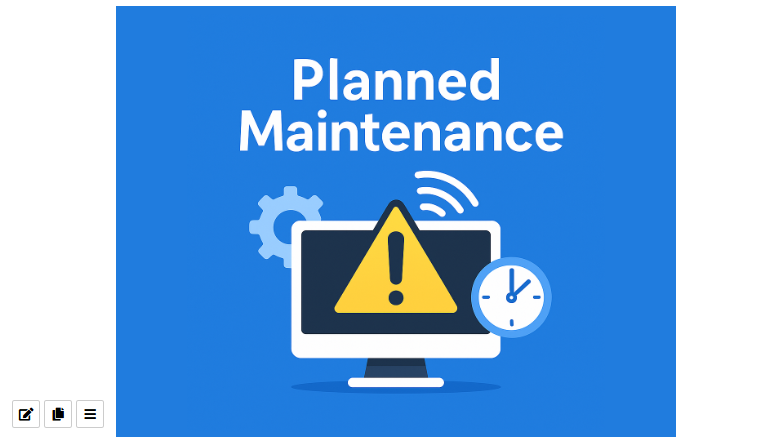
After clicking on the pencil icon, a panel will appear on the right side of the screen, where we can click on the browse option and choose an eye-catching image:
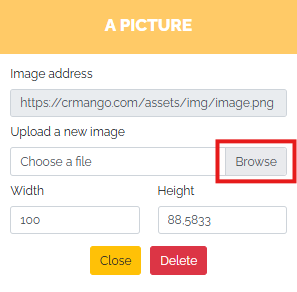
The image will automatically appear in the template and we can optionally resize it or position it on the right, left, or center.
As the next element, we will choose a basic element, into which we can insert text directly. For example, we can insert the email title into this new field:

We can choose another field, for example the text itself - a notice about a planned outage. Again, we chose the basic element:
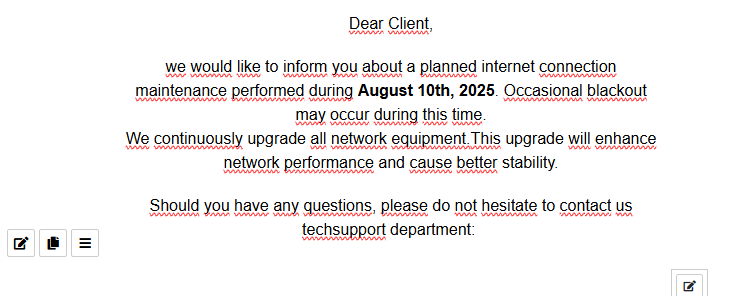
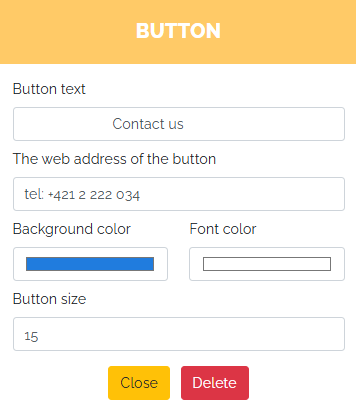
In the next step, we will select a button element called Buttons Alone, which we will insert directly into the previous text element:

Using a pencil, we can adjust the color of the field, the text, and insert, for example, a phone number in the format: tel: +421 2 222 034, which clients can contact us at after pressing this button.
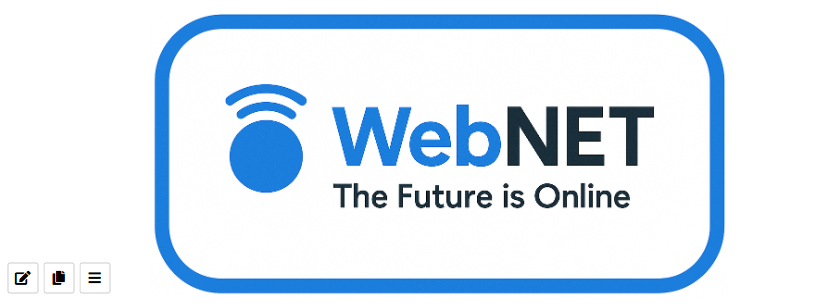
We will repeat the same and insert another element that will be linked to our email contact, but before the given email address it is necessary to insert mailto:. Finally, we will add a thank you note. As the last element, we decided to choose an element with an image in which we will insert our logo:

Click on the pencil icon again, search for a suitable image (logo) on your PC and adjust its size as needed:
We check the template created in this way, save it, and click on the option that the campaign is ready to send:

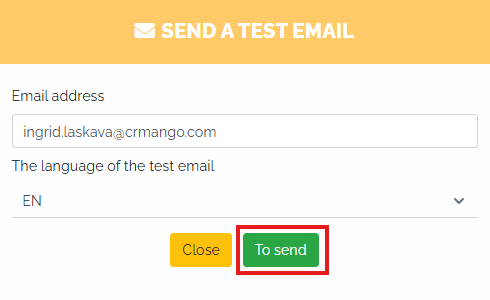
If we want to see what it actually looks like and how it will be sent to our clients email inboxes, we can send this template to our email using the button with the envelope image, which can be found in the template header - top right, as can be seen in the image:

After clicking on the envelope icon, a small window will appear in which you need to check your email address (the system will automatically fill in the email you use to log in to Manga as the default email address), select the language of the test email and press the green Send button.
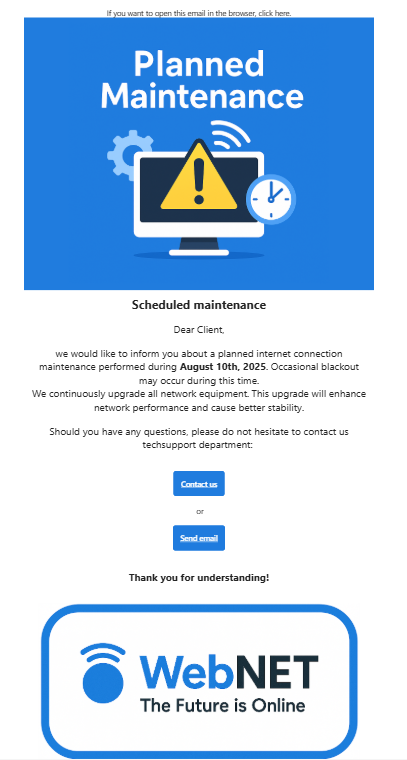
This is what the email template we created and sent to our email looks like:
Warning!
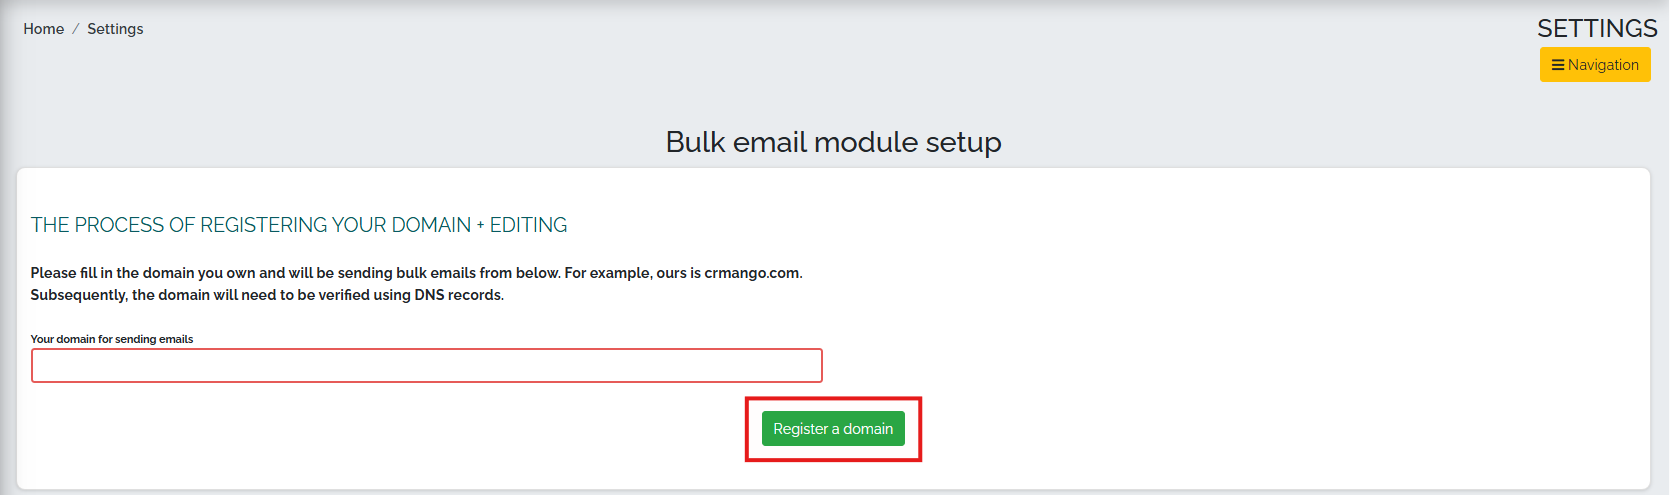
To successfully send email campaigns, you need to have a registered domain. So, go to Settings -> Bulk Emails and click on Manage Module. In the new window titled Bulk Email Module Settings, you need to add your domain using the green plus button and click on the green Register Domain button.
Need a visual demonstration? Check out our video on how to create a simple email campaign: