Custom templates make it easier to obtain detailed information about a quote or order. They also allow you to specify specific data more precisely, such as a contact person, address, serial number, or information about equipment or vehicles. We can create multiple types of templates exactly according to the specific needs of our company or individual departments.
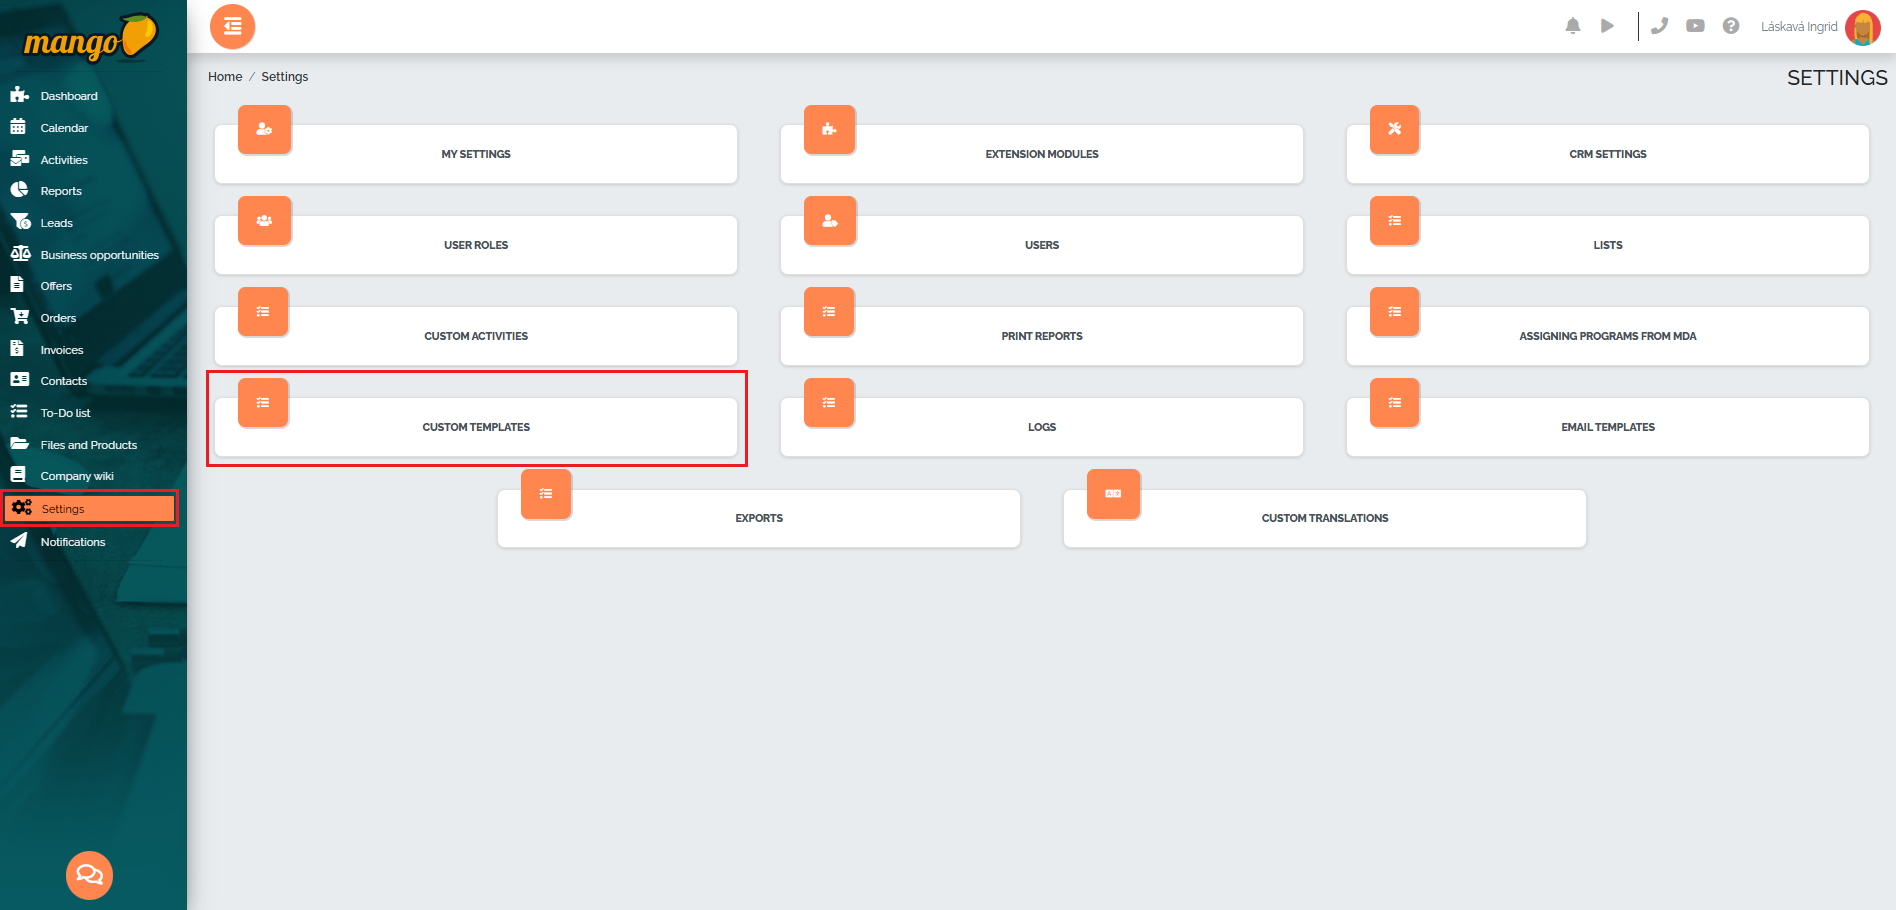
Custom templates can be found in the Settings section:
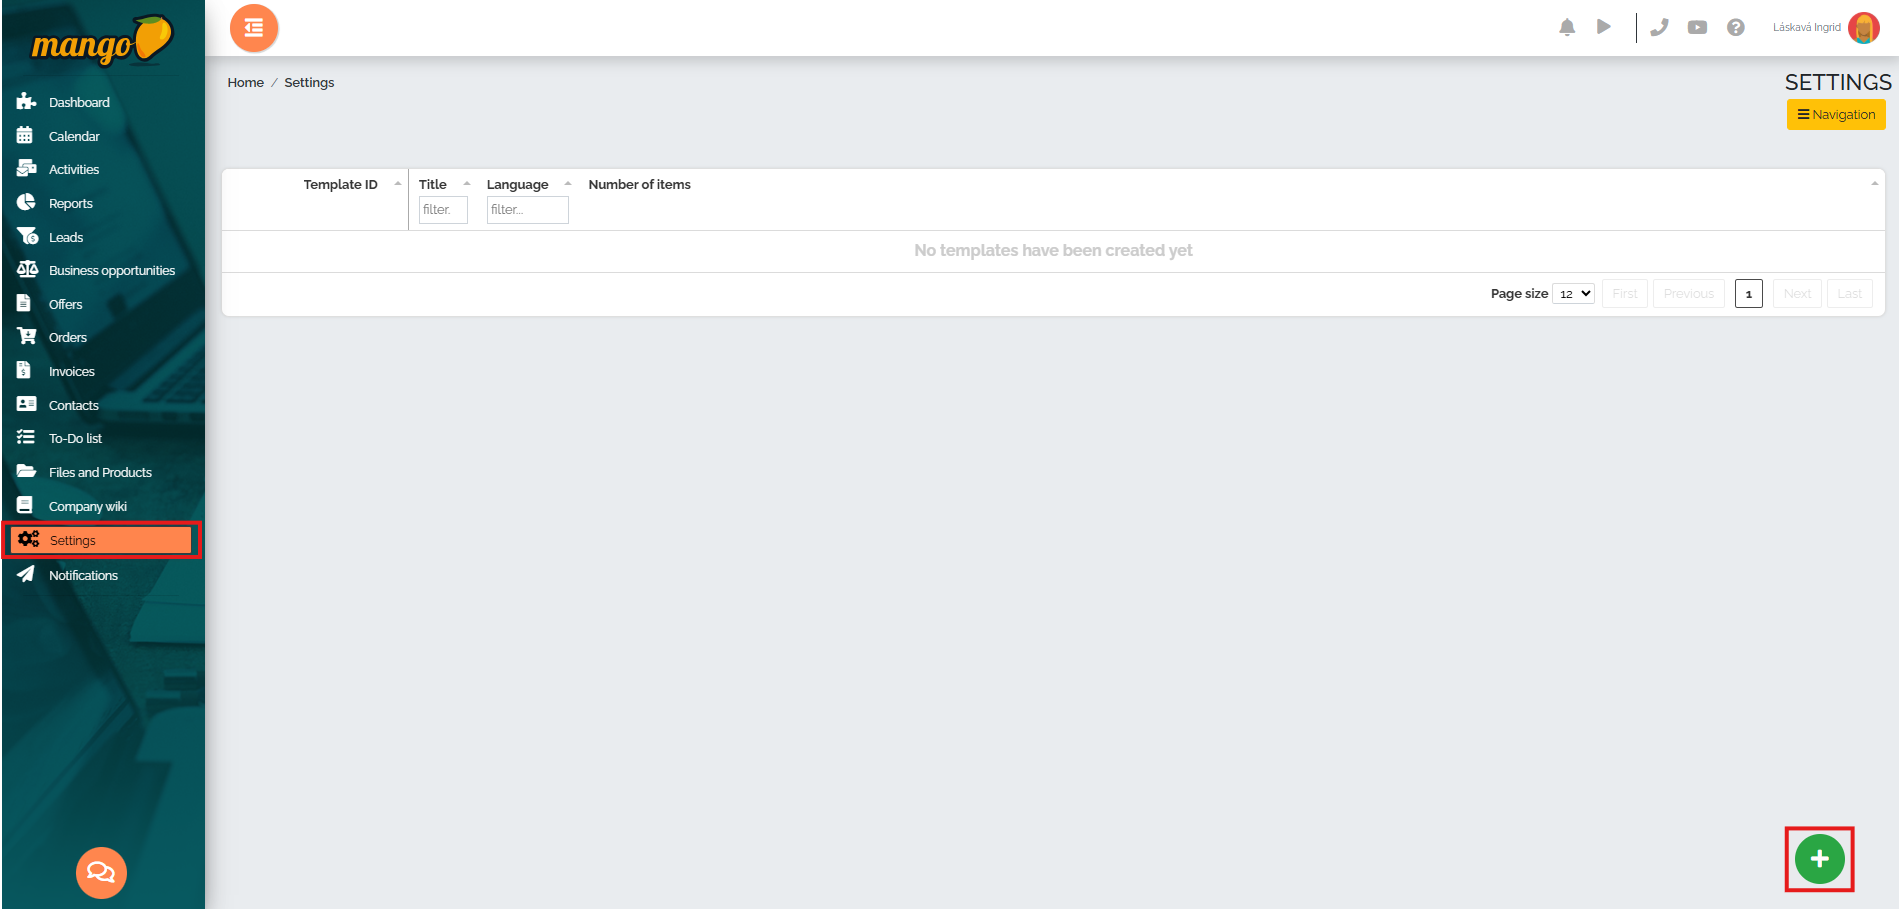
We add a new template by pressing the green plus button in the lower right corner of the screen:
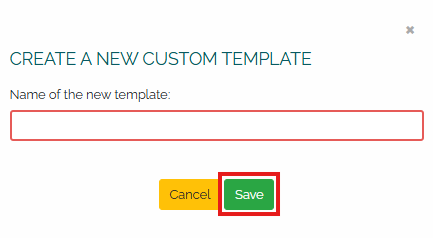
After clicking, a small window will appear in which we can enter the name of the template and save it with the green Save button.
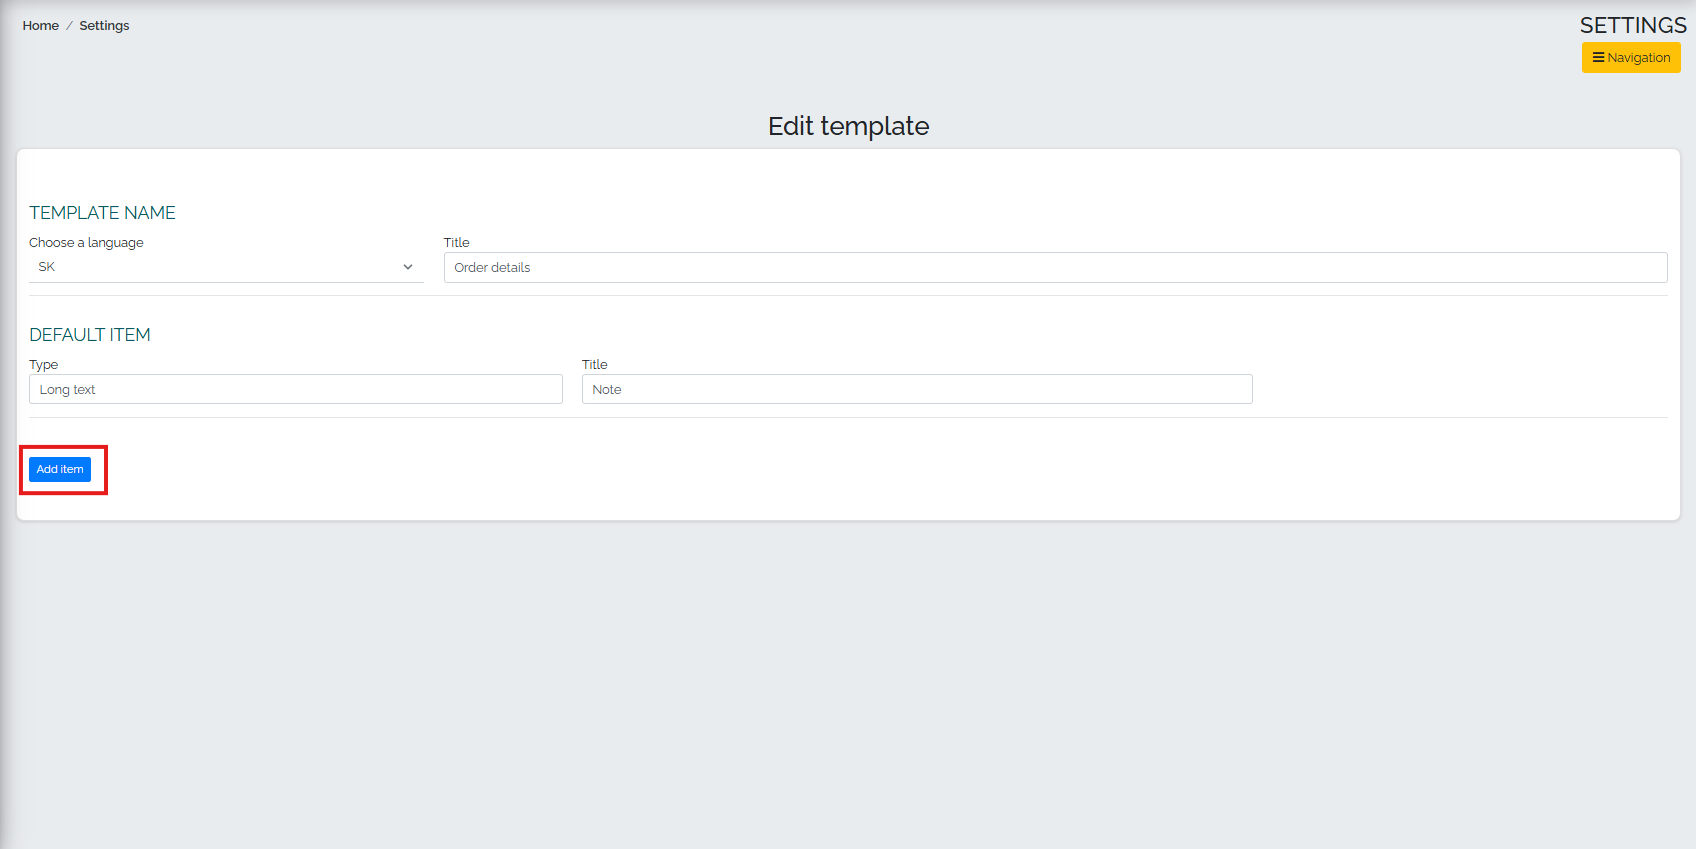
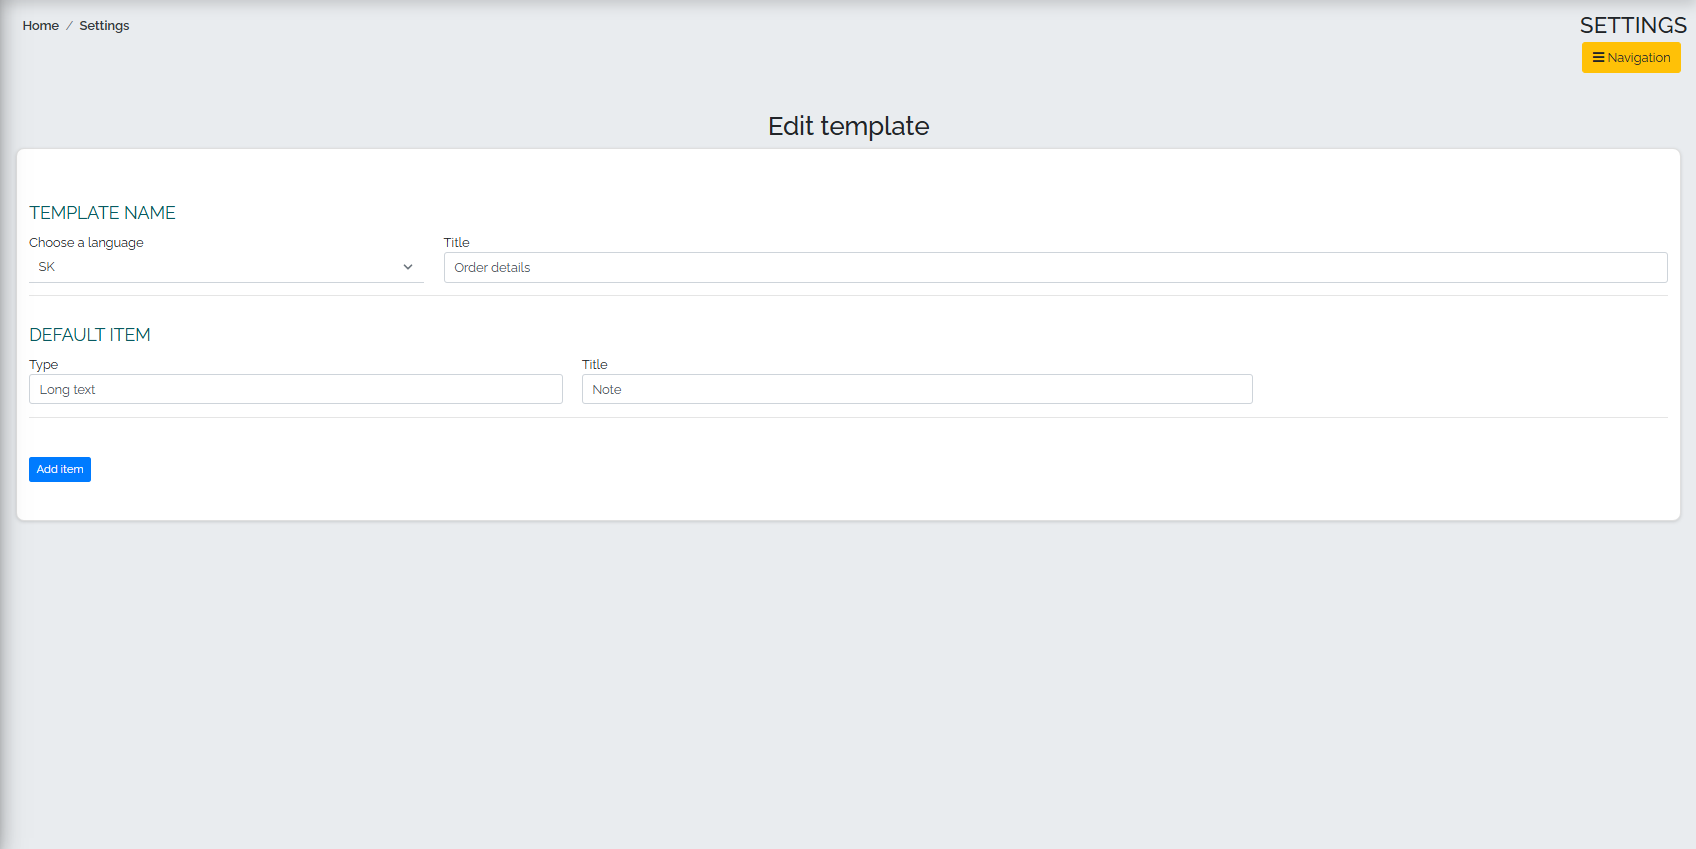
After entering the name, the created template will be displayed, which must be edited by pressing the blue Add item button:
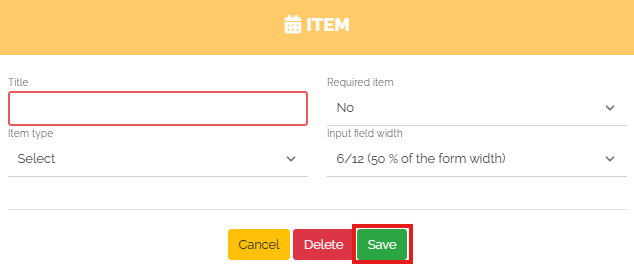
A small window will then appear in which we can define the name of the item, whether the item is mandatory or not, the type and width of the input field. After filling in all the fields, we can save the item by pressing the green Save button.
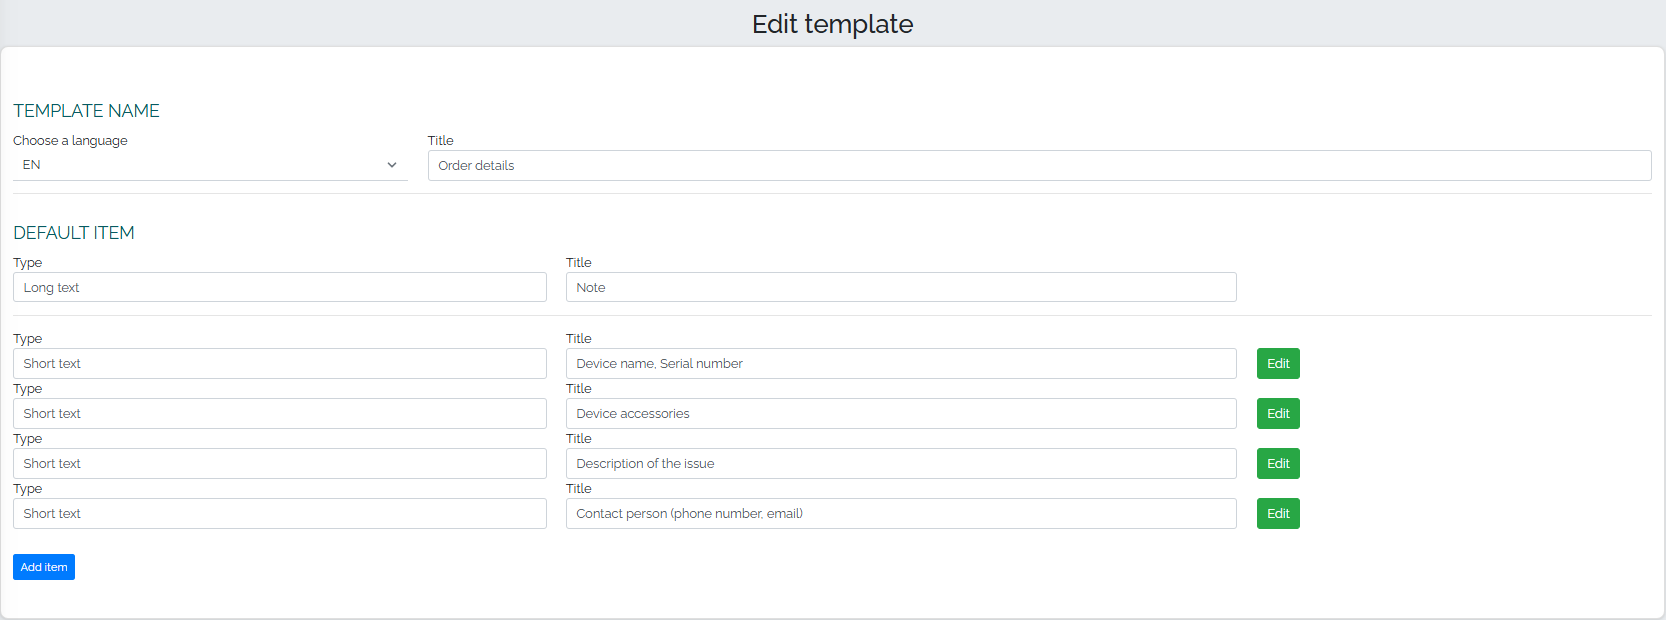
Once we have defined all the template items, we can use a model situation to demonstrate the real-world use of our templates. Our sample template looks like this:
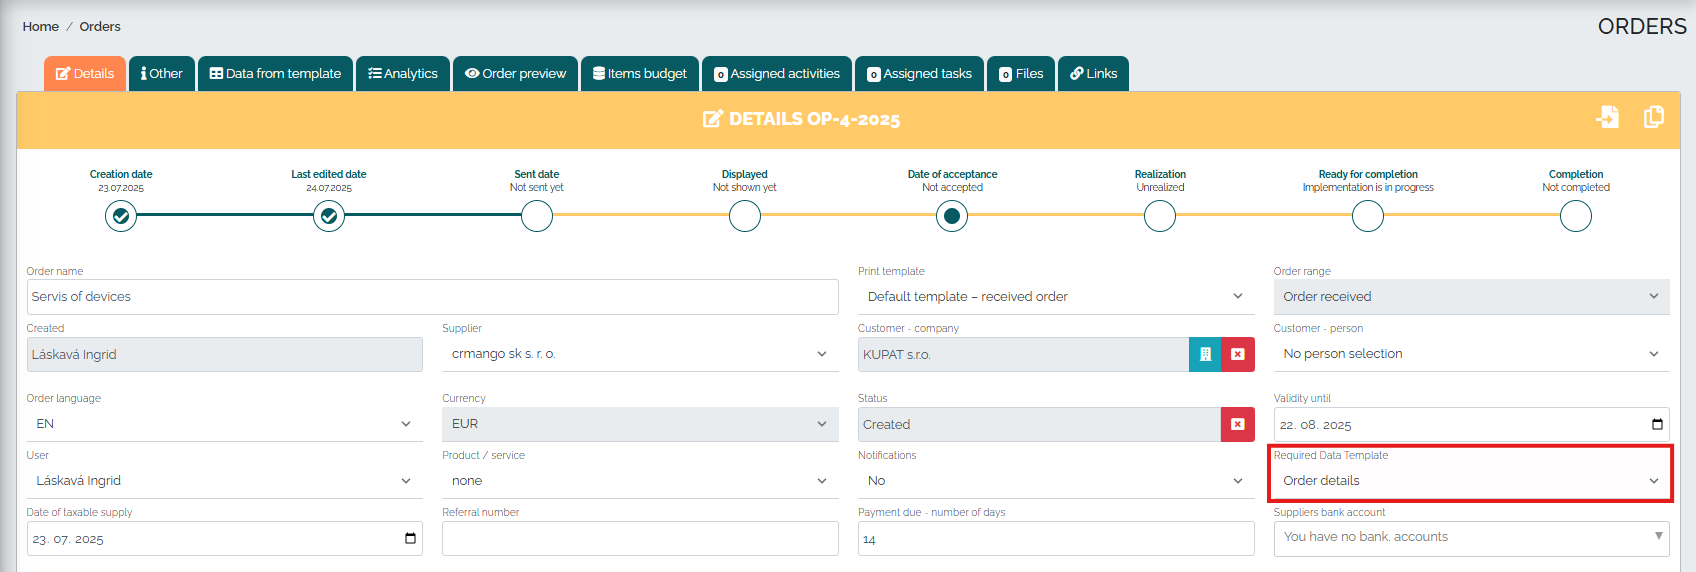
Lets imagine that we are a small company that specializes in servicing and repairing mobile phones and tablets. We were contacted by a customer - Mr. Man from KUPAT sro, who would like to repair some devices in the company, but at this moment he does not know the exact number of pieces or models. However, the customer forgot to send an email with details, so we decided to use our own template. For this purpose, we will create an order received and attach the required template to it to complete the data on the devices being serviced. In the order, we will indicate the supplier, the customers company, or. name (if we do not know, it is possible to leave this field blank), and in the field called Template of mandatory data, we will select the template we created called Order details, as can be seen in the image below:
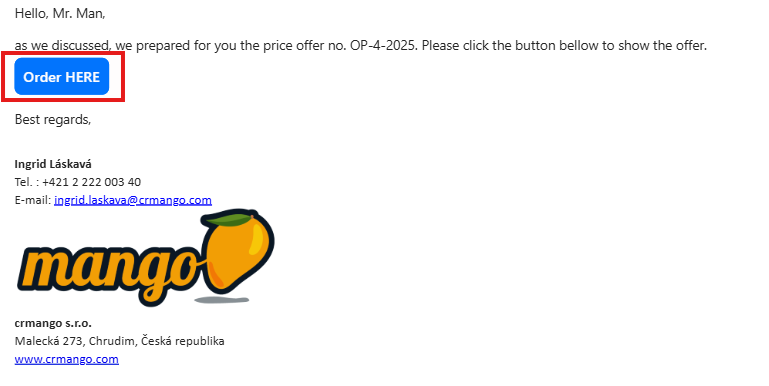
After filling in all the necessary data, we can check the order and send it to the customer via email, which looks like this:
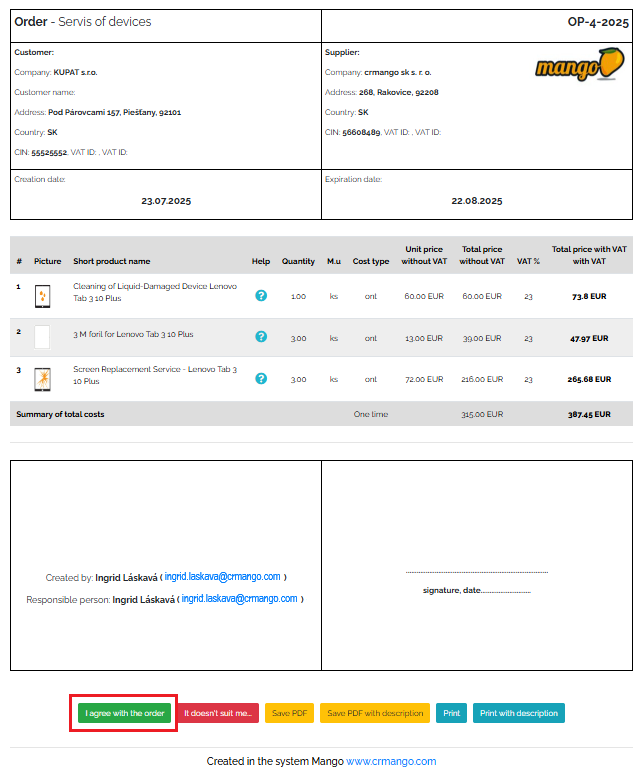
By clicking the blue Order HERE button directly in the email, the customer will see an order form where they can see the prices for repairing individual devices. By clicking the green I agree to the order button, the customer has accepted our order.
A new window will then appear in which the system will prompt him to fill in the following fields - that is, he will be shown the template we created, with which we have asked him to complete the necessary data for the order - for the service of his tablets. After filling in all the data, click on the green Send consent button, as can be seen in the image below:
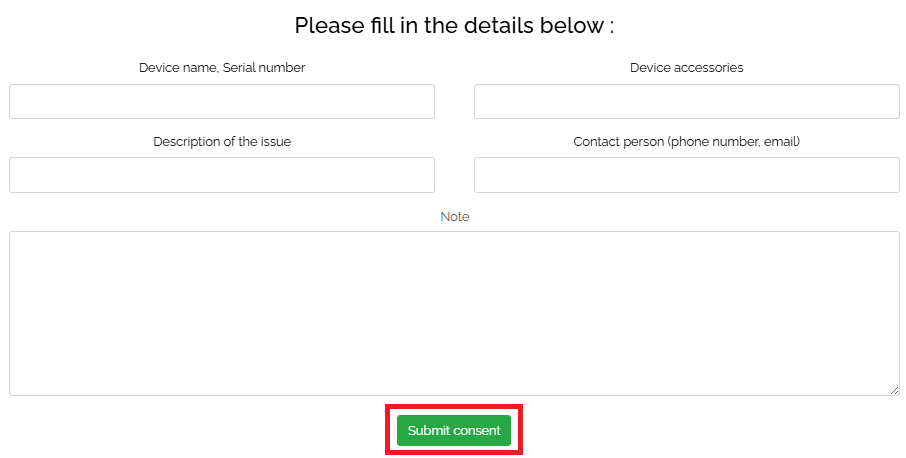
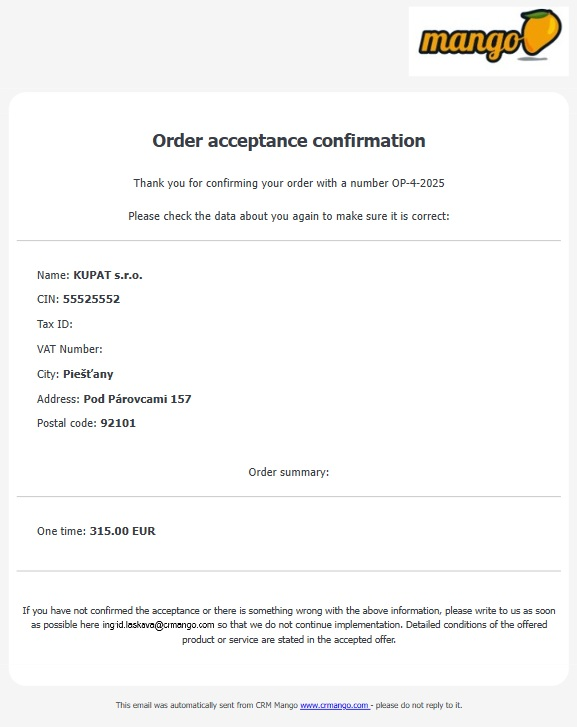
After the customer clicks on the order, we will receive an order confirmation by email, which looks like this:
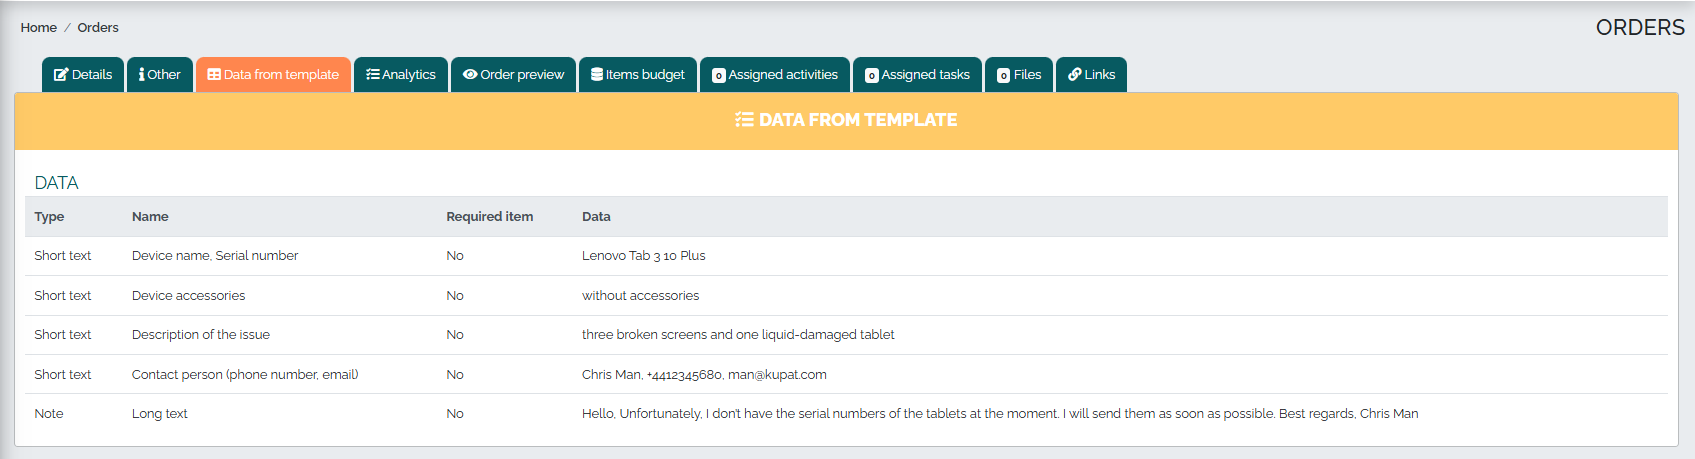
The data filled in by the customer after accepting the order is also visible directly in the order details on the Data from template tab. This way, all information related to the order is stored directly in the order and users who have access to the orders can view it at any time and then work with it further.