Tasks set in Mango improve work organization, team collaboration, and allow for efficient tracking of all customer-related activities. It also minimizes forgetting important steps in the process (e.g., contacting the customer, tracking the quote, etc.).
Below is a sample of how we can work with tasks - what we can track, how we can select them, and so on.
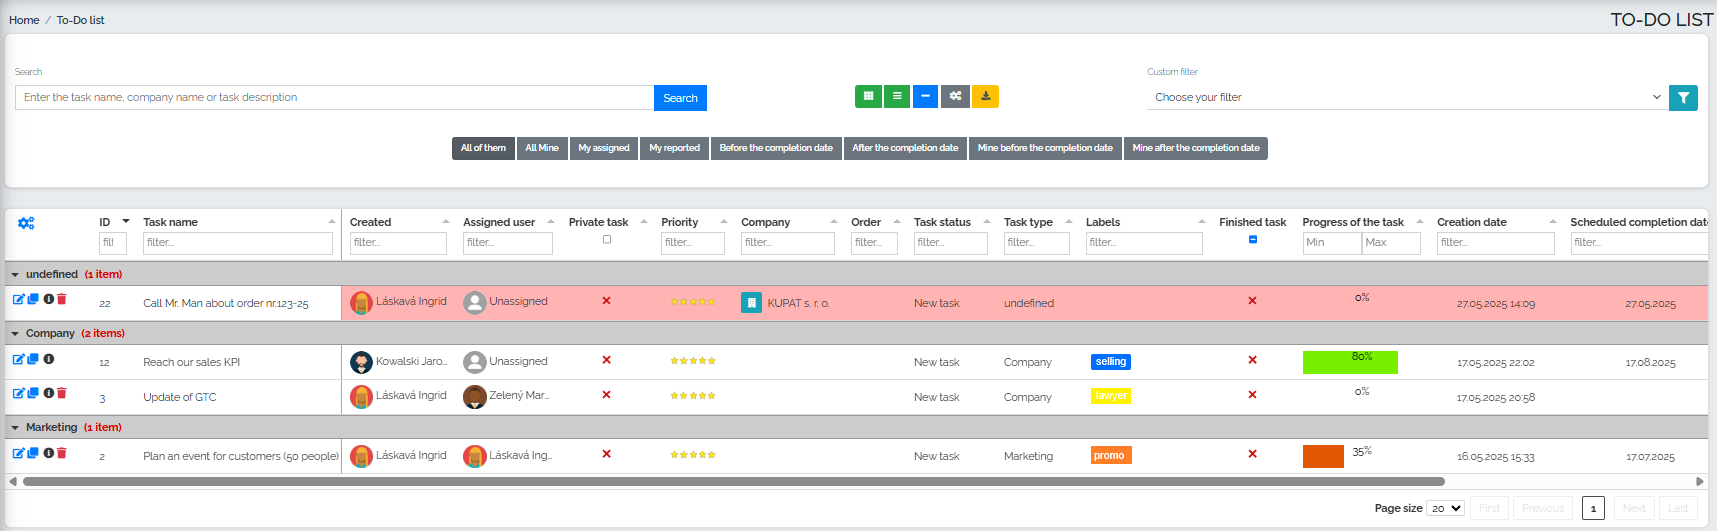
First of all, we can notice that these tasks are divided into 3 groups - Undefined (task with ID 22), Company (tasks ID 12,3) and Marketing (ID2). If we want to assign a task type to a specific task, we need to go to the Task Type column and create a new task type using the plus button:
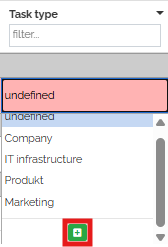
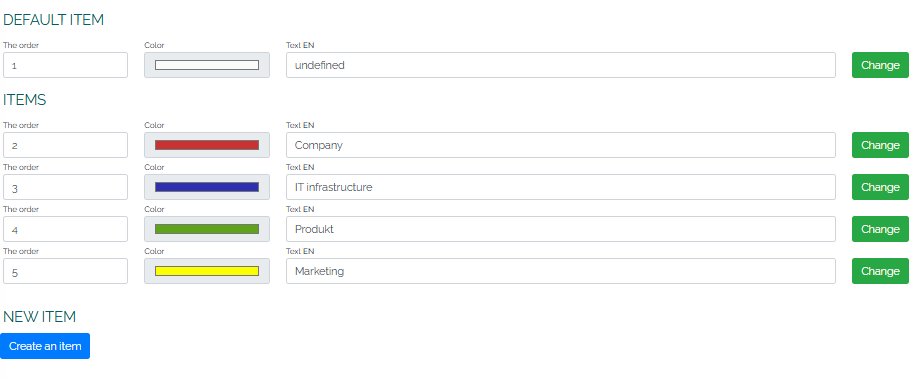
A new window will then appear in which we can assign a name and color:
Similarly, we create labels in the Tags column, as can be seen for tasks with IDs 12, 3, and 2. Again, just click the plus button to select a color and enter a label name.
In the next column called Completed task, we can uncheck the task if it has been completed. As you can see, the default value is a red cross - by double-clicking directly on the cross, the icon will change to a green checkmark and the value will be saved.

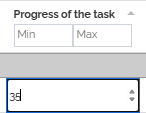
If we have a task that requires multiple solution steps, we can gradually record its progress using the Task Progress column, where we can either set a numerical value using the arrow or enter it directly from the keyboard:
As the deadline approaches, the background color of a task may change. Mango automatically changes the color of the task to blue 5 days before the scheduled deadline and also sends automatic email notifications about the approaching deadline. On the day of the task completion and after the deadline for completing the task has passed - until the task status changes to completed - the task with ID 22 will be red, as we can see in the image above. Also, every day after the deadline has passed, the user will receive an automatic notification about the unfinished task. The email notification applies not only to the task submitter, but also to the user to whom this task was assigned. So you dont have to worry that the task will go unnoticed.
We can see a very quick overview of our own tasks and projects by clicking on the blue plus button:

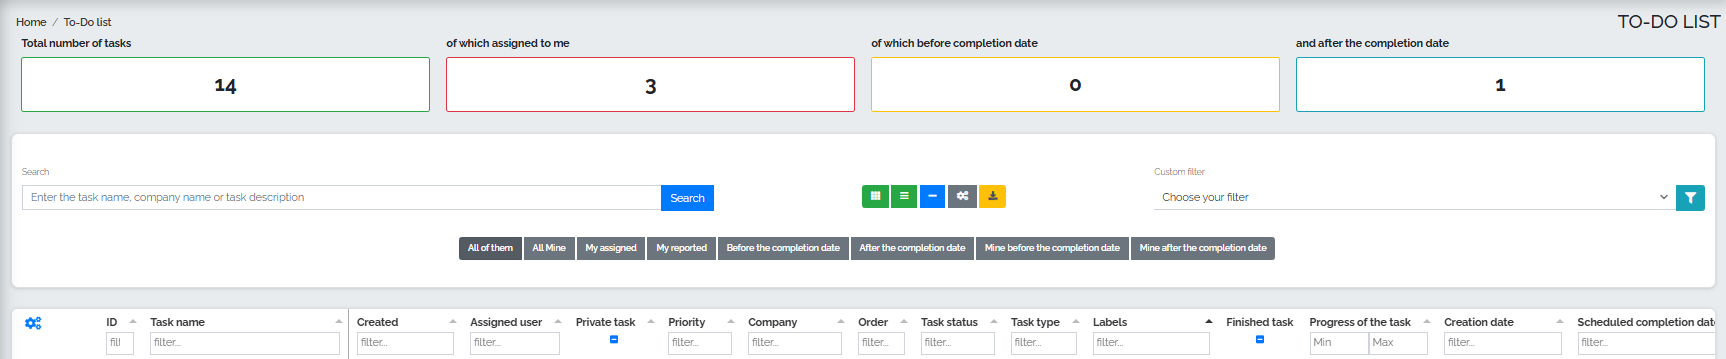
In turn, we will see an overview of tasks - the total number of tasks, how many of them are my tasks, how many tasks are before the completion deadline and after the completion deadline.
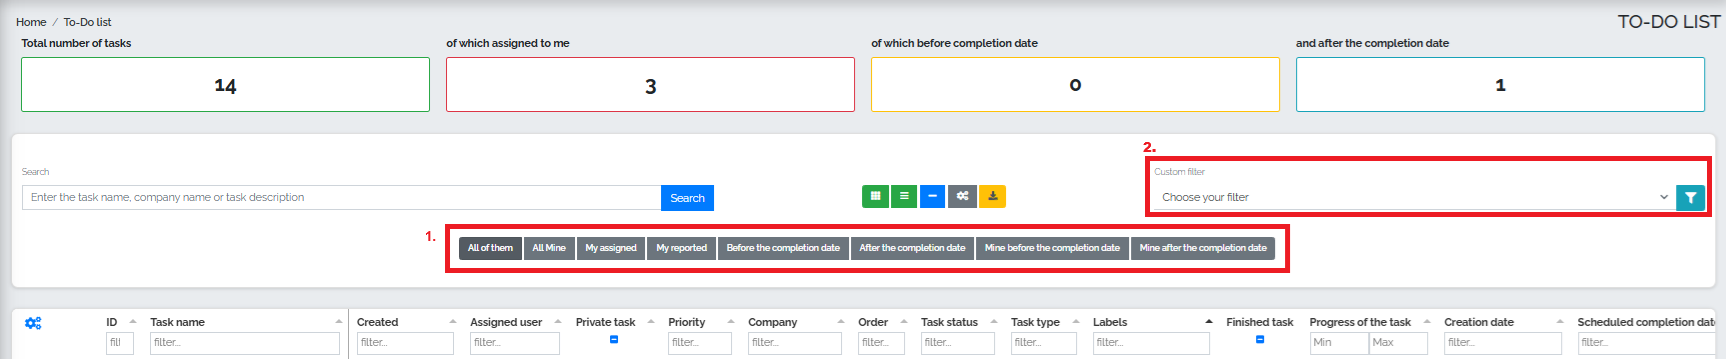
The Tasks section also allows us to select and filter tasks, which provides managers with an overview of who is responsible for individual projects and tasks, what stage they are at, and whether they are being completed within the set deadlines.
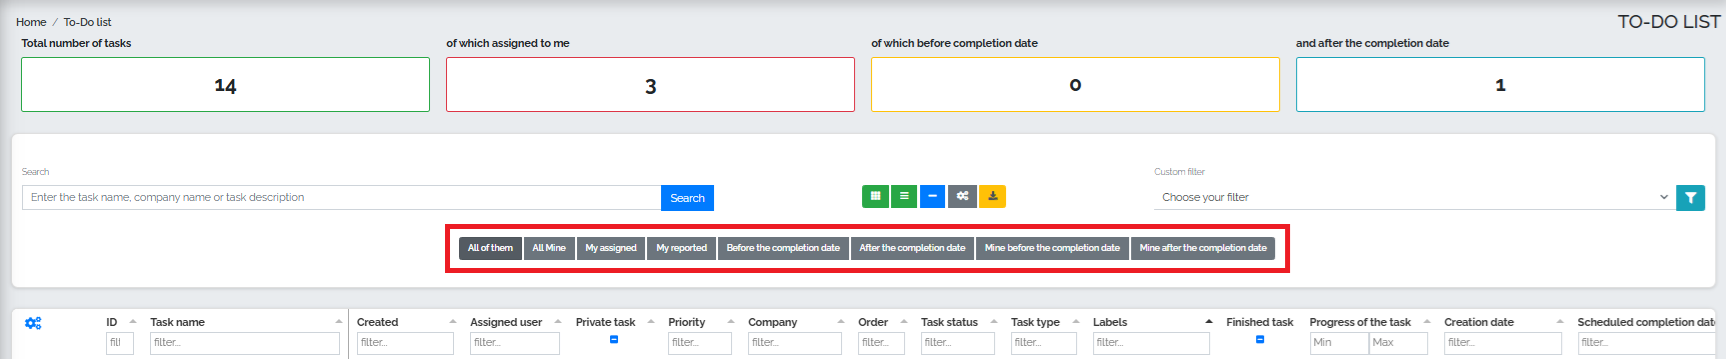
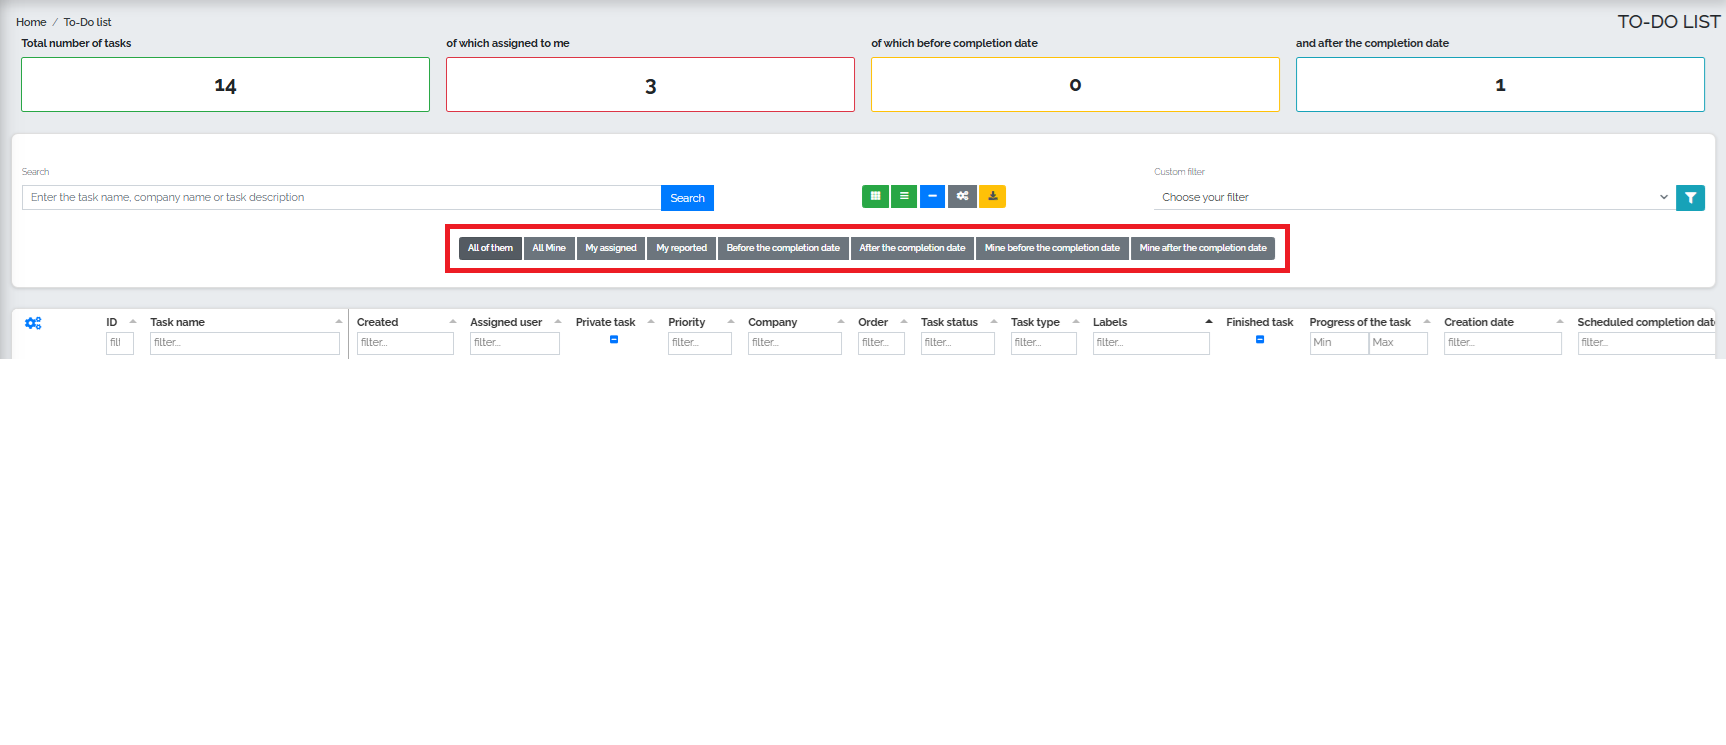
The image above shows the quick filter panel (no. 1), which allows the user to view specific groups of tasks without having to set their own filters. In quick access, we have the option to view tasks sequentially: All, All mine, My assigned, My reported, Before due date, After due date, My before due date, My after due date.
Another option is to use a custom filter (no. 2), which allows us to filter tasks according to various conditions:
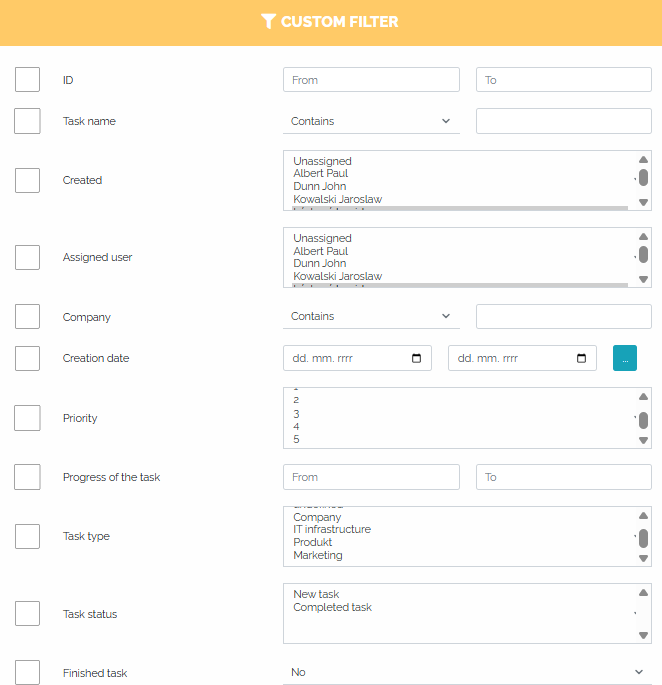
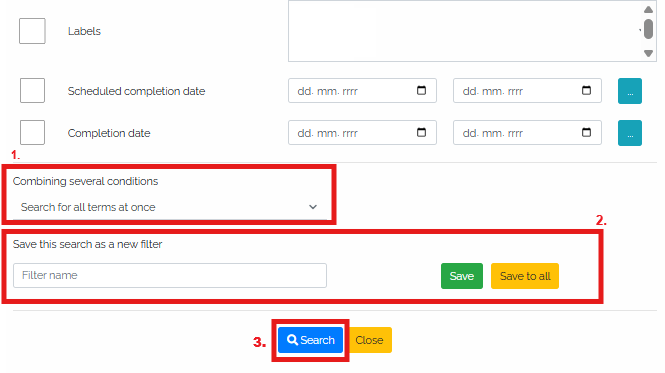
In field no. 1 we can choose to combine multiple conditions - that is, whether we want to search for all conditions simultaneously or separately. Simultaneously means that if we click on multiple parameters by which we want to filter, the system will take these conditions into account simultaneously. In the case of separate search, the system will search for these conditions separately.
After clicking on all relevant fields, the user has the choice of whether to automatically search for tasks according to the specified criteria - in this case, they press the blue search button ( No. 3). However, if they want to save their filter beforehand, they press the green save button or the yellow save to all button (No. 2). After saving the filter, it is necessary to press the blue search button (No. 3) to display the filtering results.